Background
I started this project because I wanted two sinks in the master bathroom and because the sink drained very slowly.
Initial Research
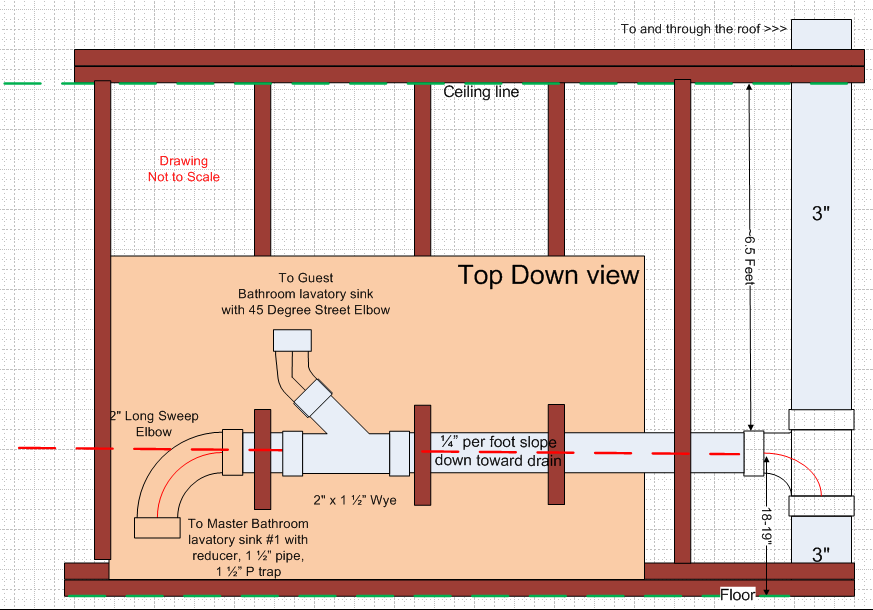
The original sink drain configuration supported two sinks back to back in two bathrooms (master and kid’s bathroom) separated by a common 6″ thick wall.
The original continuous waste and vent drain stack-up looked similar to this…
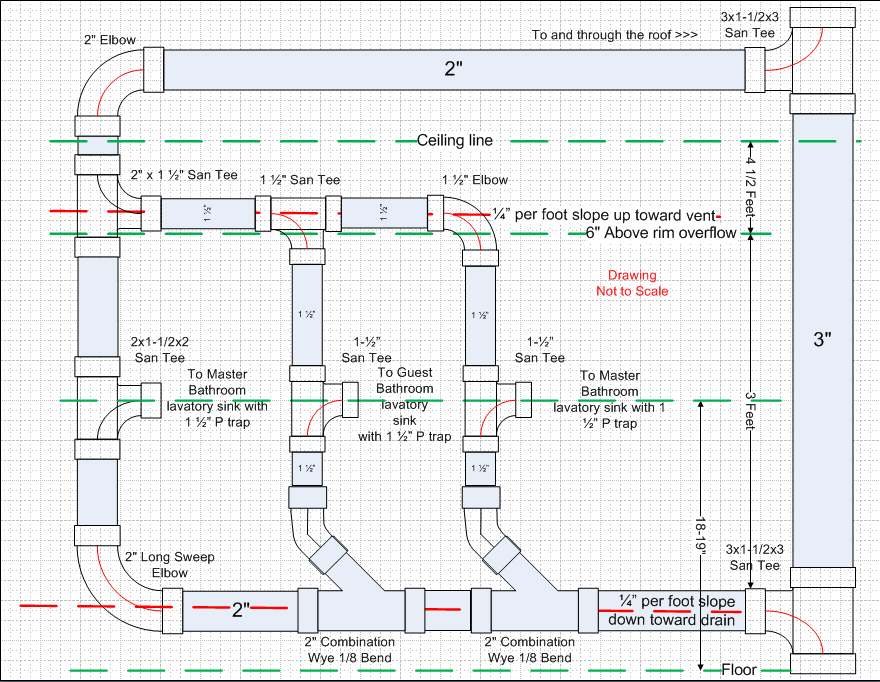
The new drain stack-up needed to support 3 sinks; 1 sink in the kids bathroom and 2 sinks in the master bathroom. To improve drainage I went with three Vertical Vented Drains to Common Horizontal Drain. This option is the hardest to install and requires more new holes in the lower frame of the 2×6 wall. This is a 2×6 non-load bearing wall so more holes is not an issue. The vents from the sink would be tied into an existing vent line in the attic. This is the option was chosen with help from www.plumbingforums.com .THANK YOU!!!
(See http://www.plbg.com/forum/read.php?1,487174).
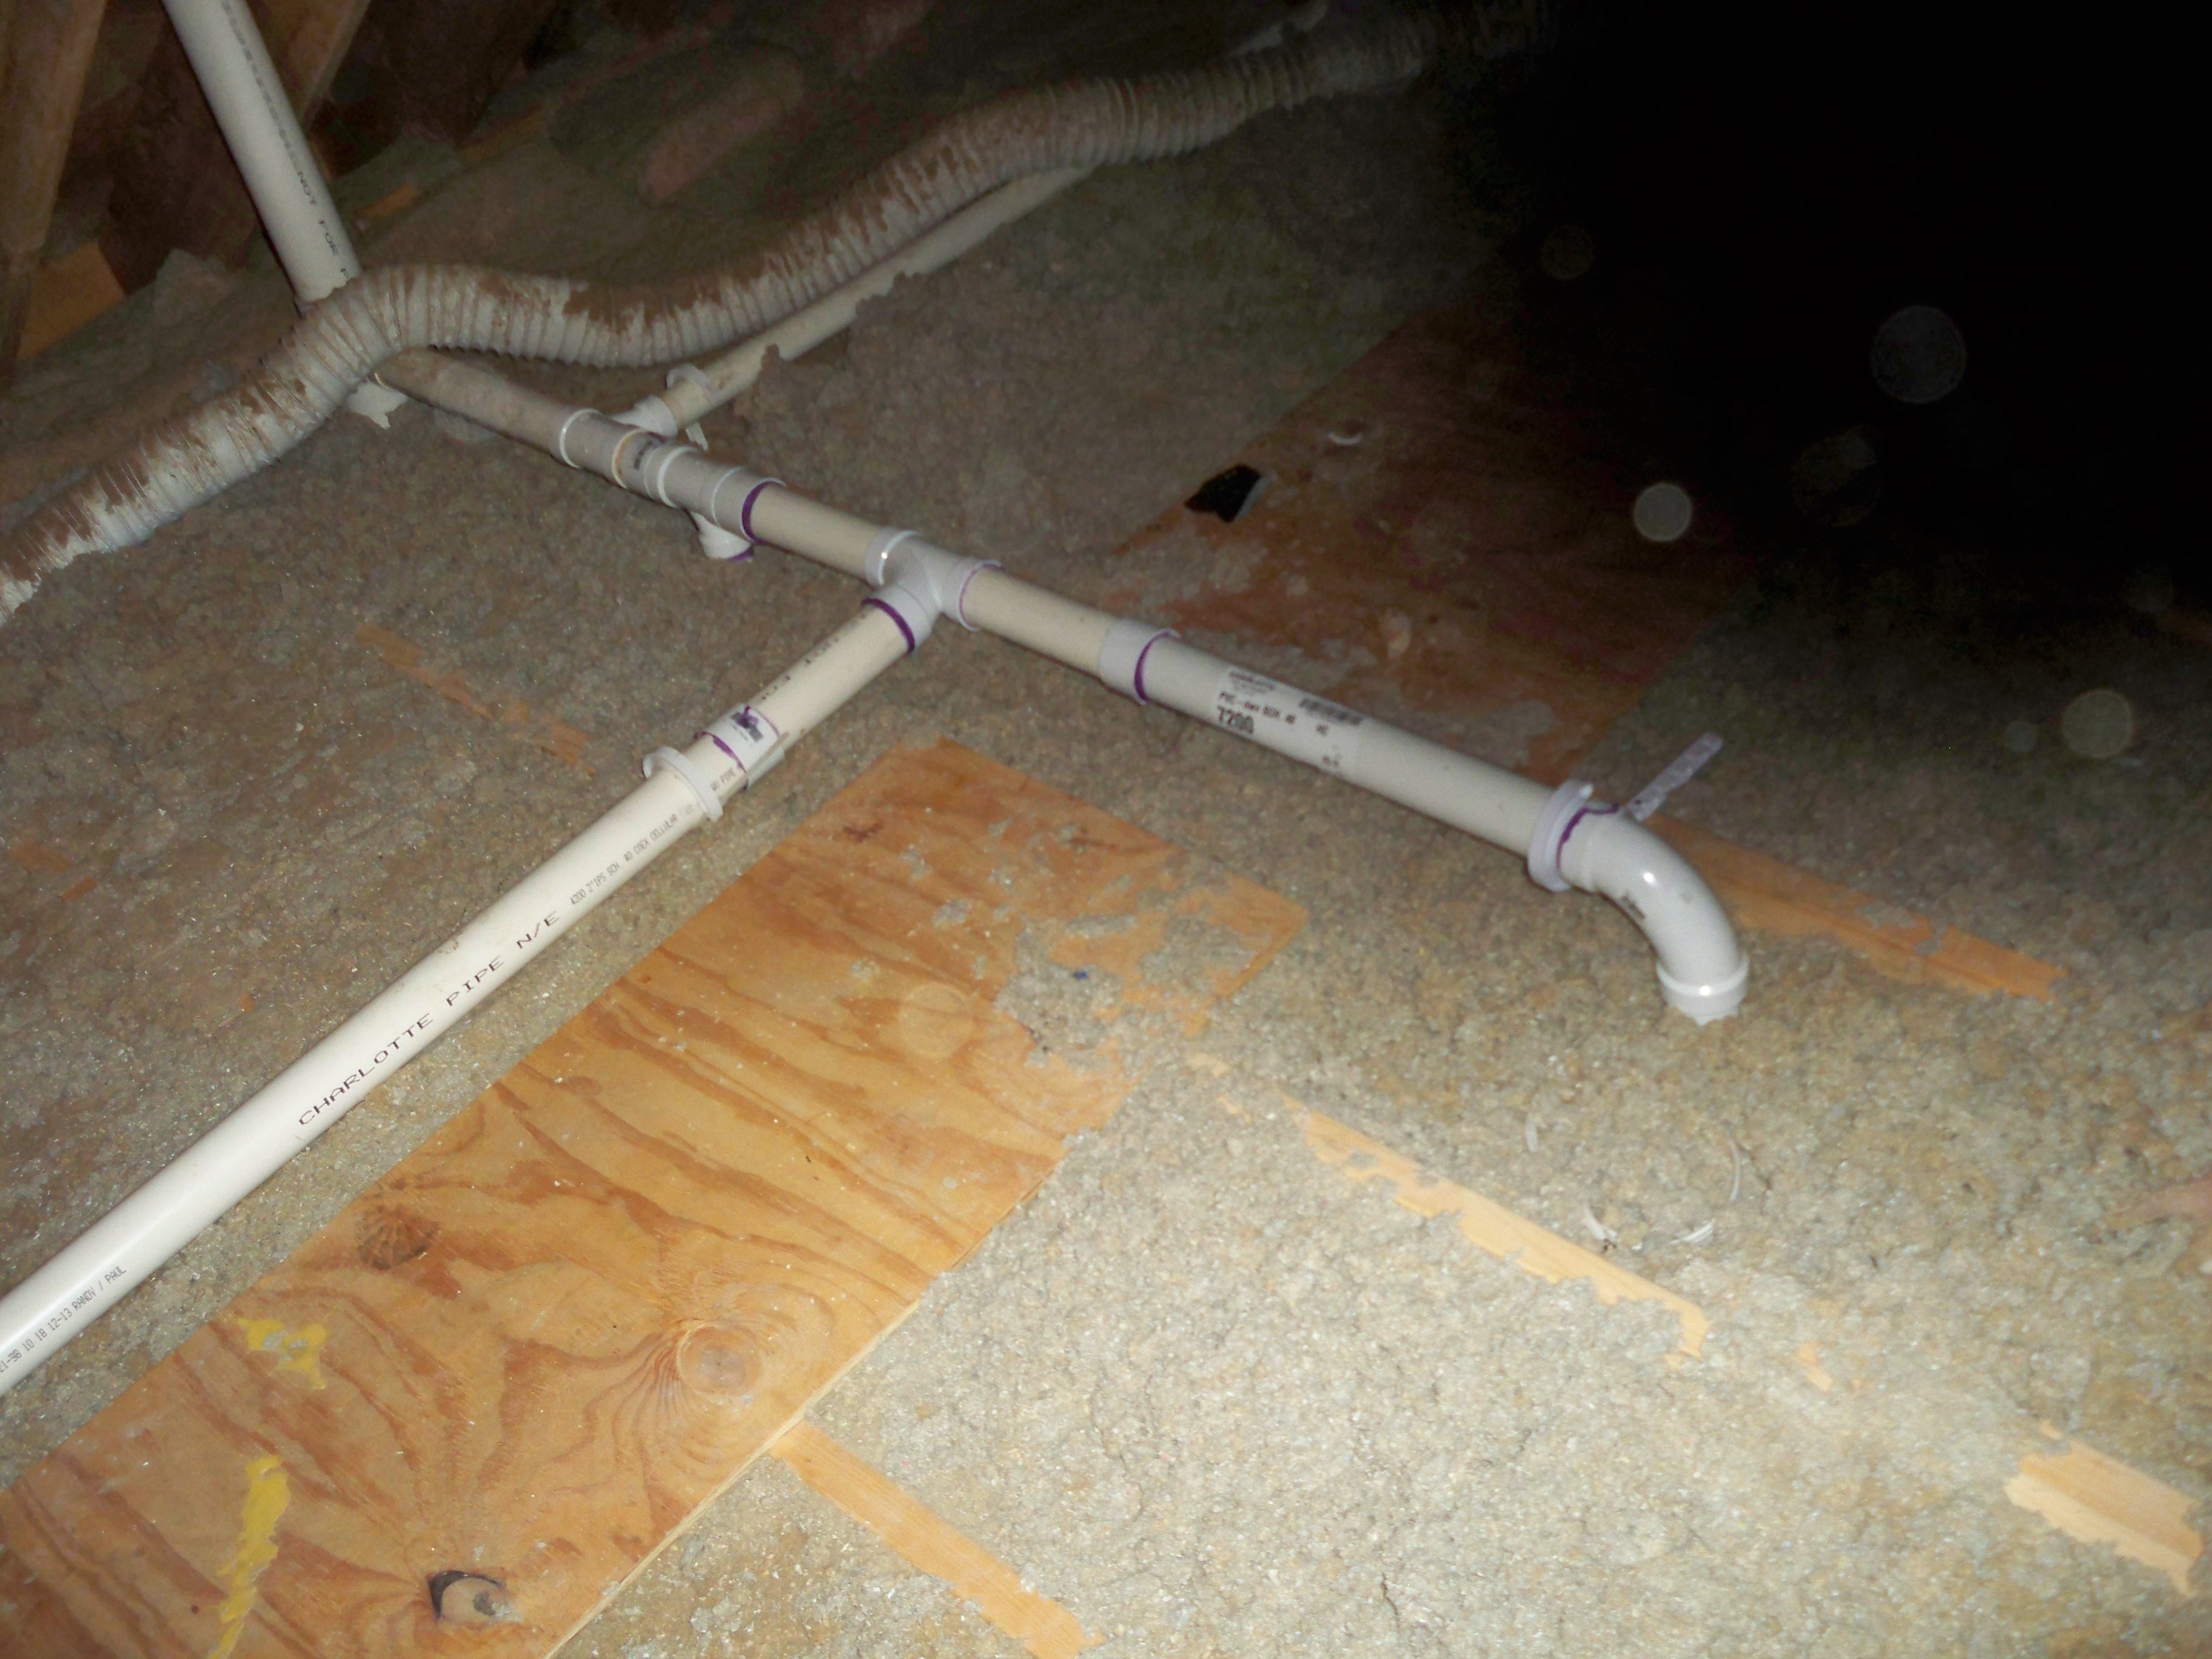
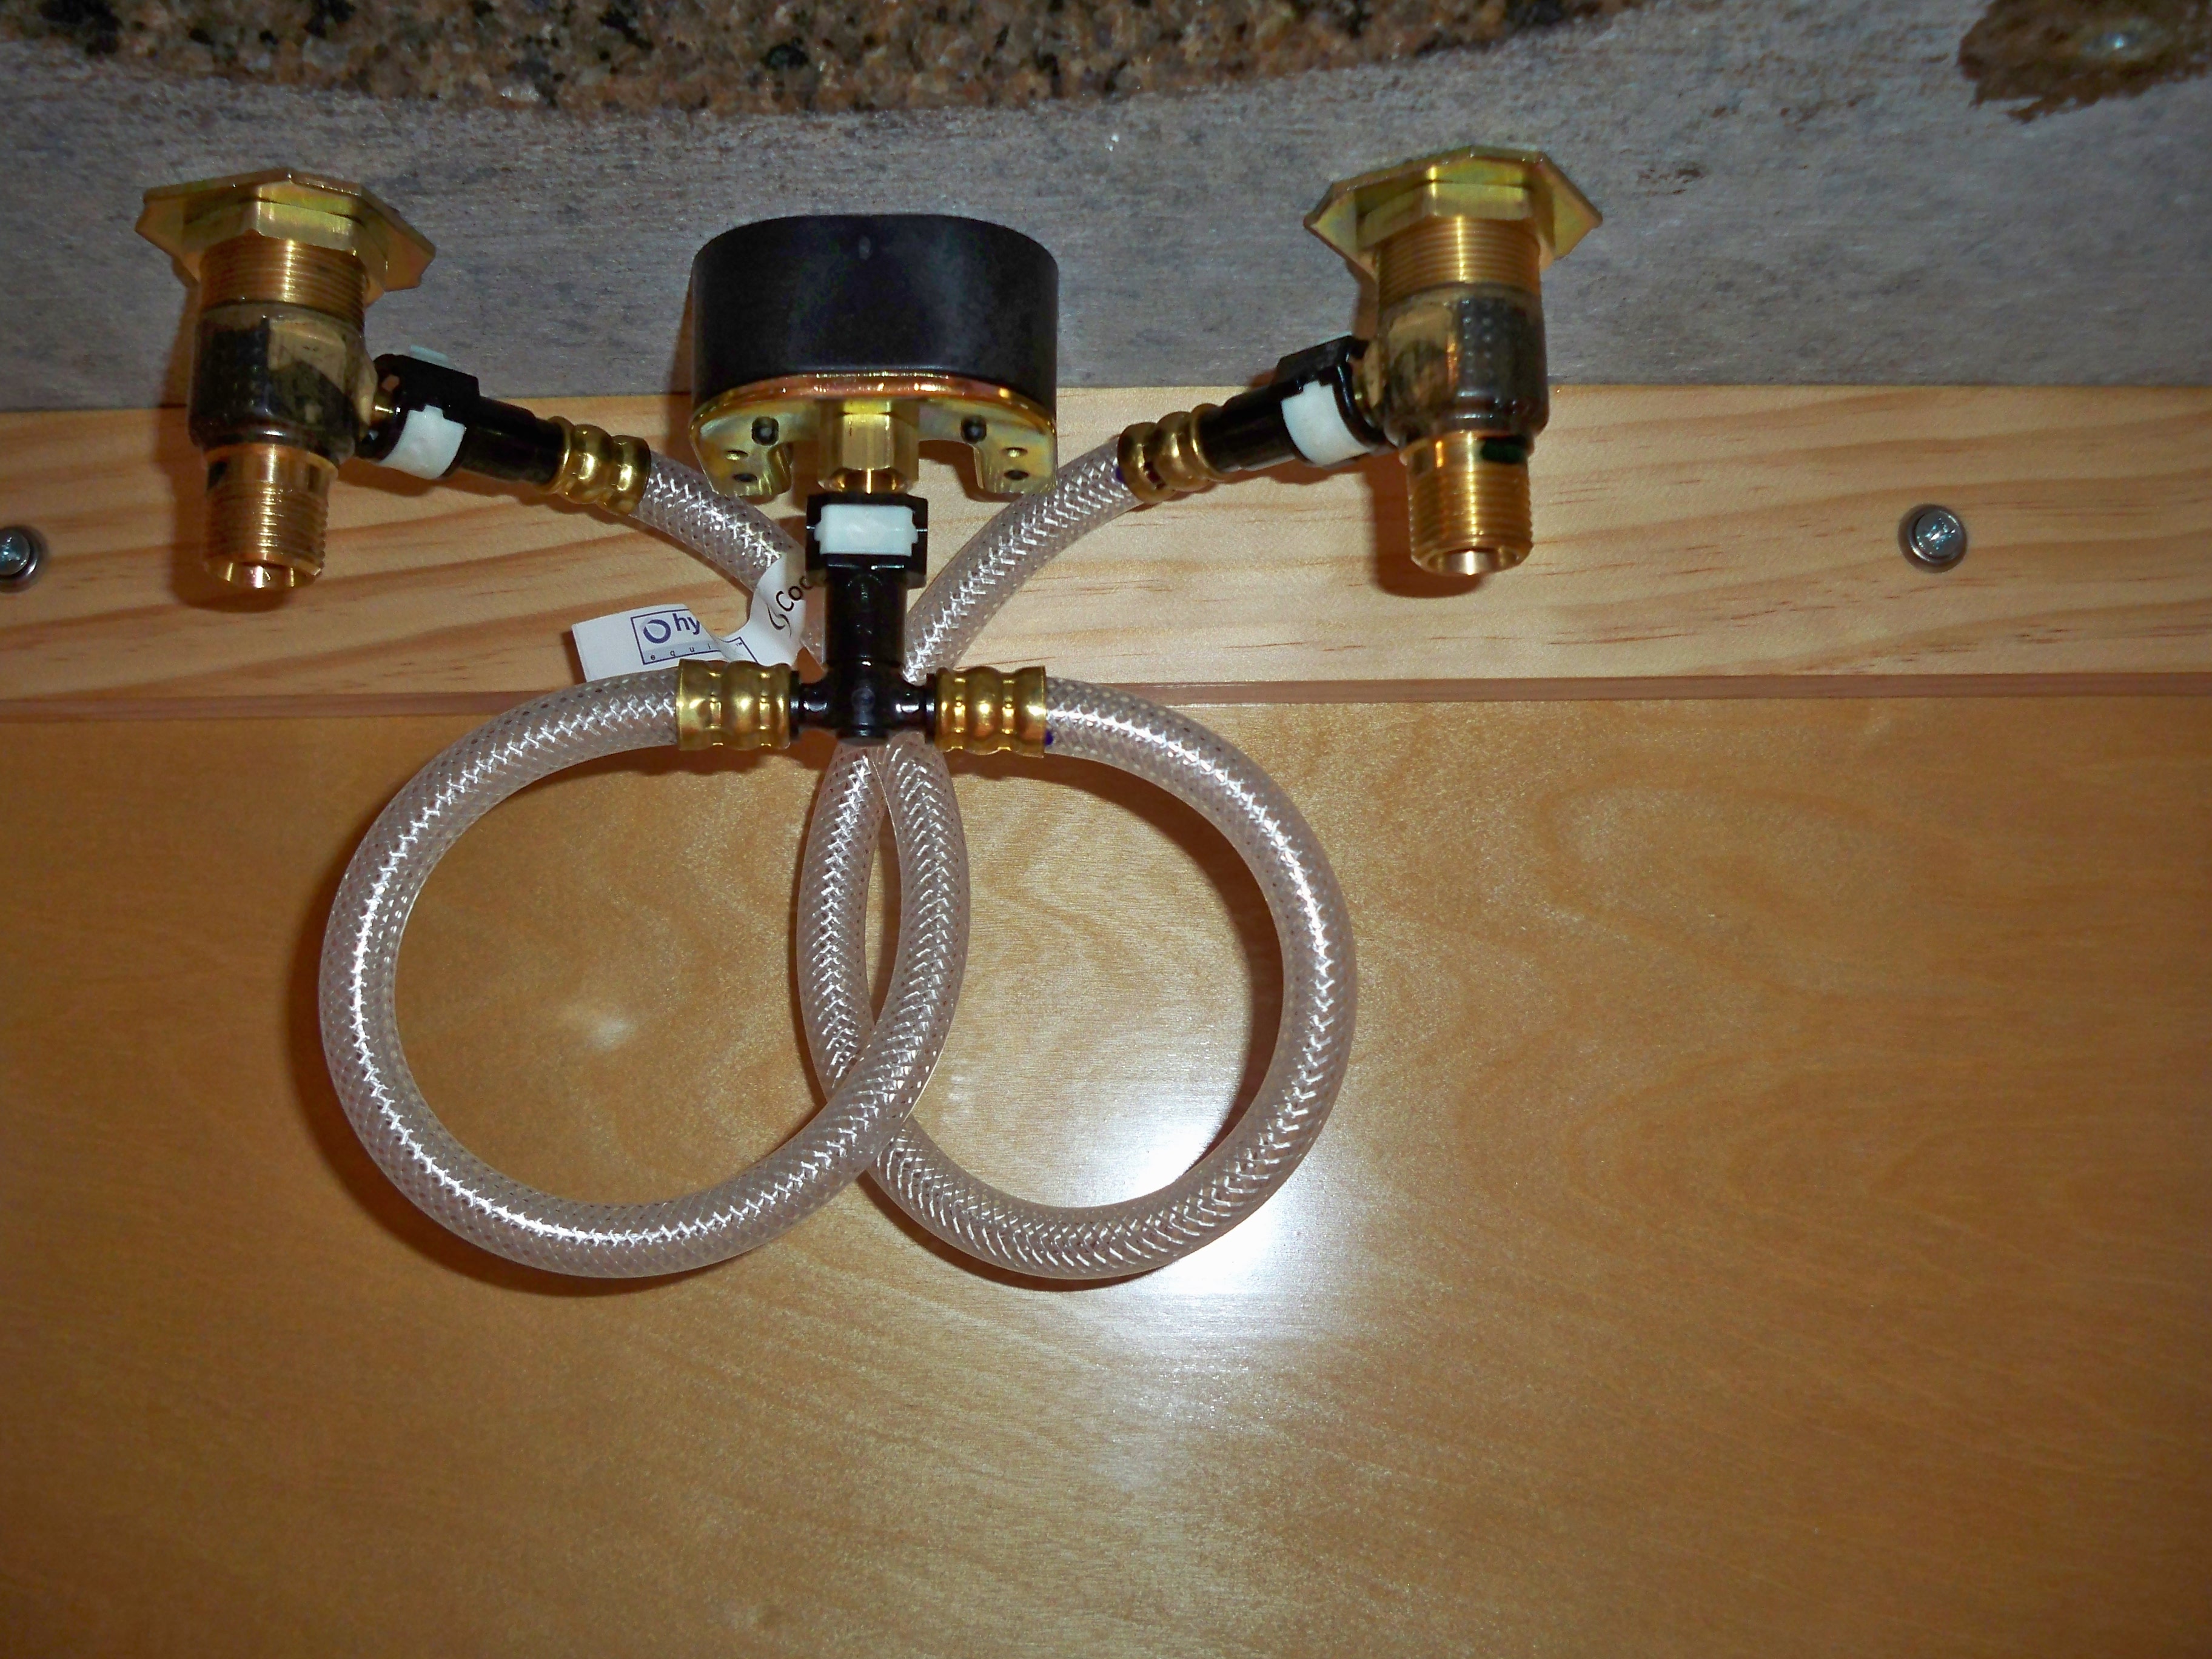
As Installed
As installed I went with a variation of the drawing above. This installation required fewer parts and required fewer holes. The outlets were moved per code; cords will no longer be hanging over the sinks. I have a few more plates to install and some insulation to put in place before I button the wall up. No, I won’t be using the original paint!!! Please also note the outlet on the right was rotated 90 degrees to line up with the outlet on the left.
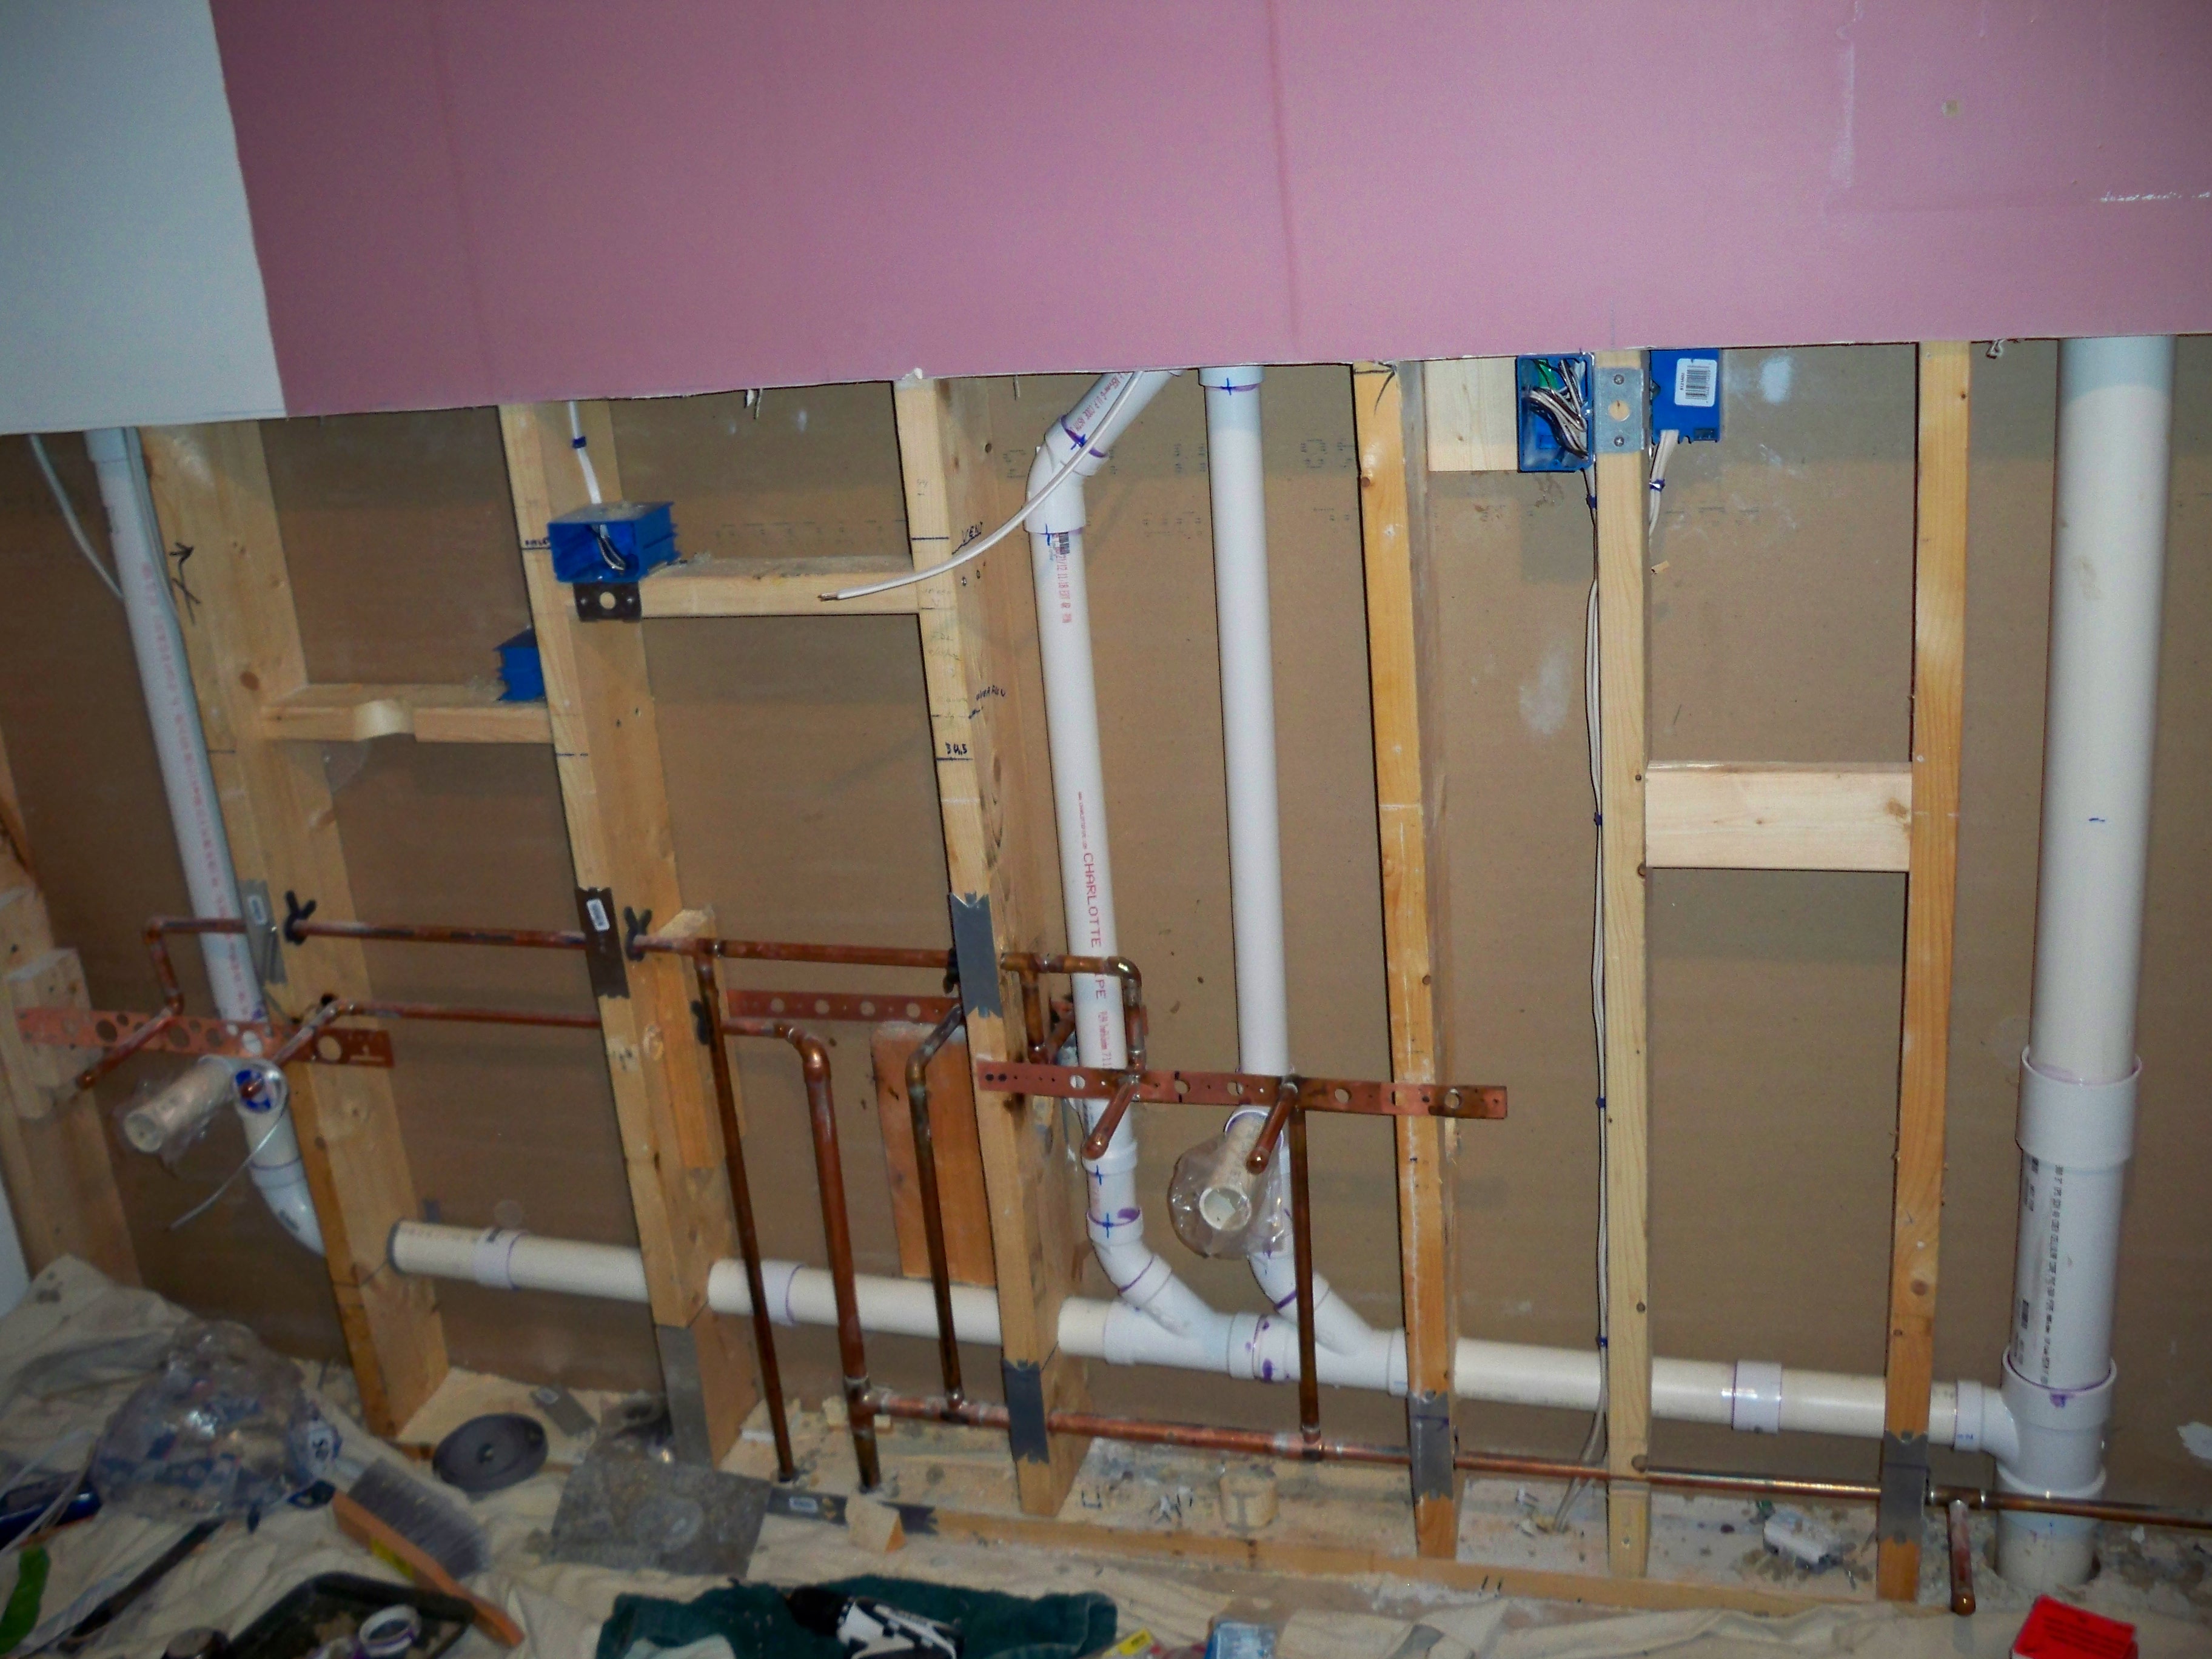

Yes….I did add another blanket of rolled insulation….
Added insulation and going to tack-down the loose wires on the left….
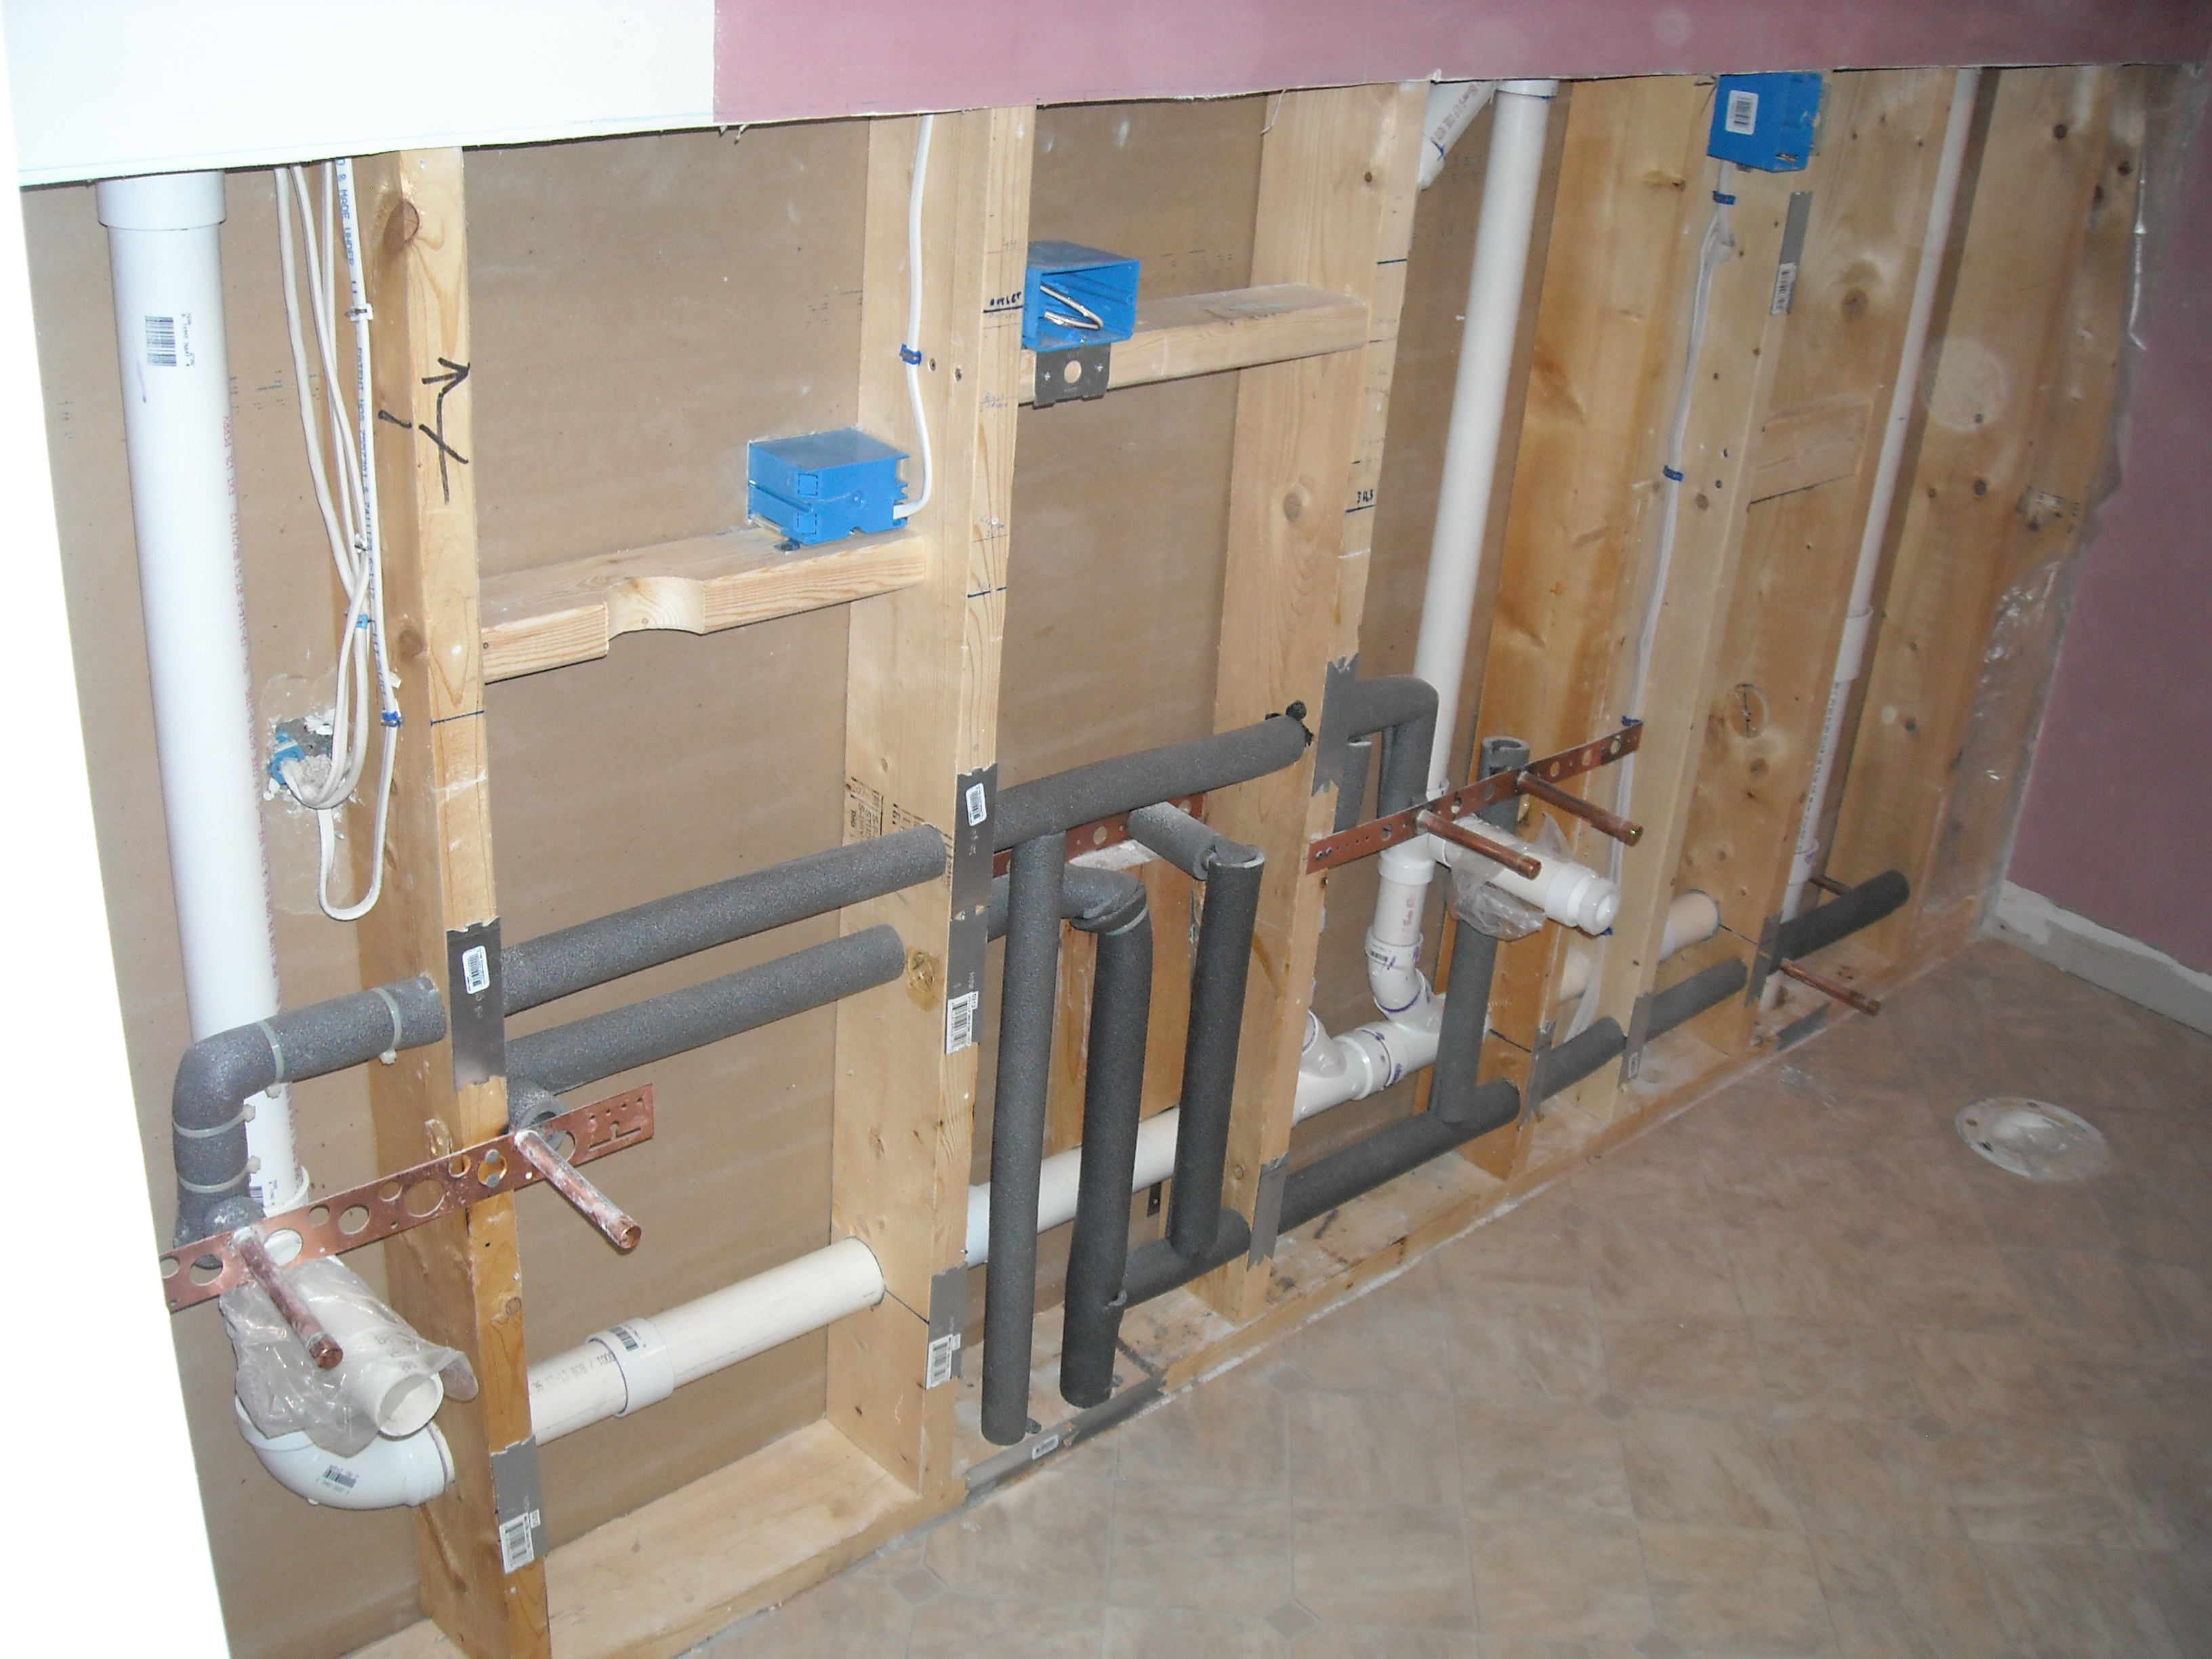
Starting to look like a room again. I can’t wait to cover up that paint !!! Dammit, I forgot to rotate the outlet!!!

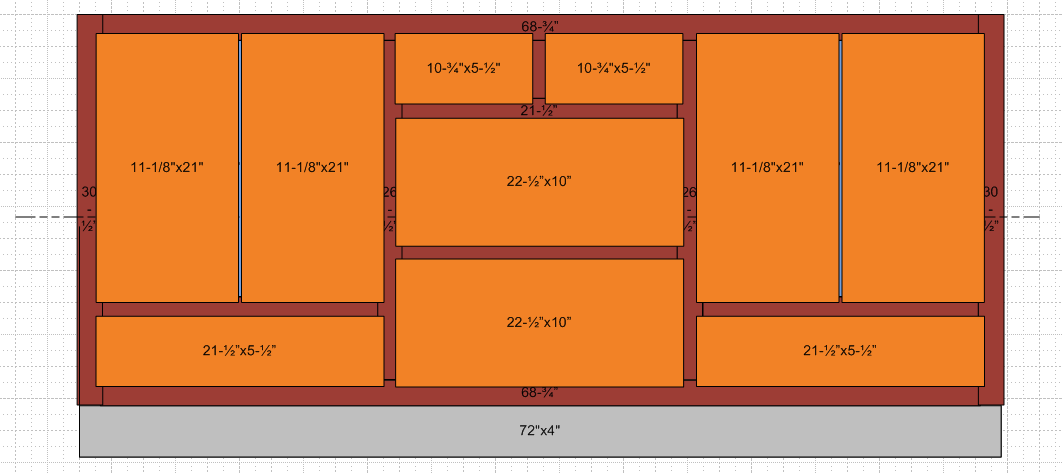
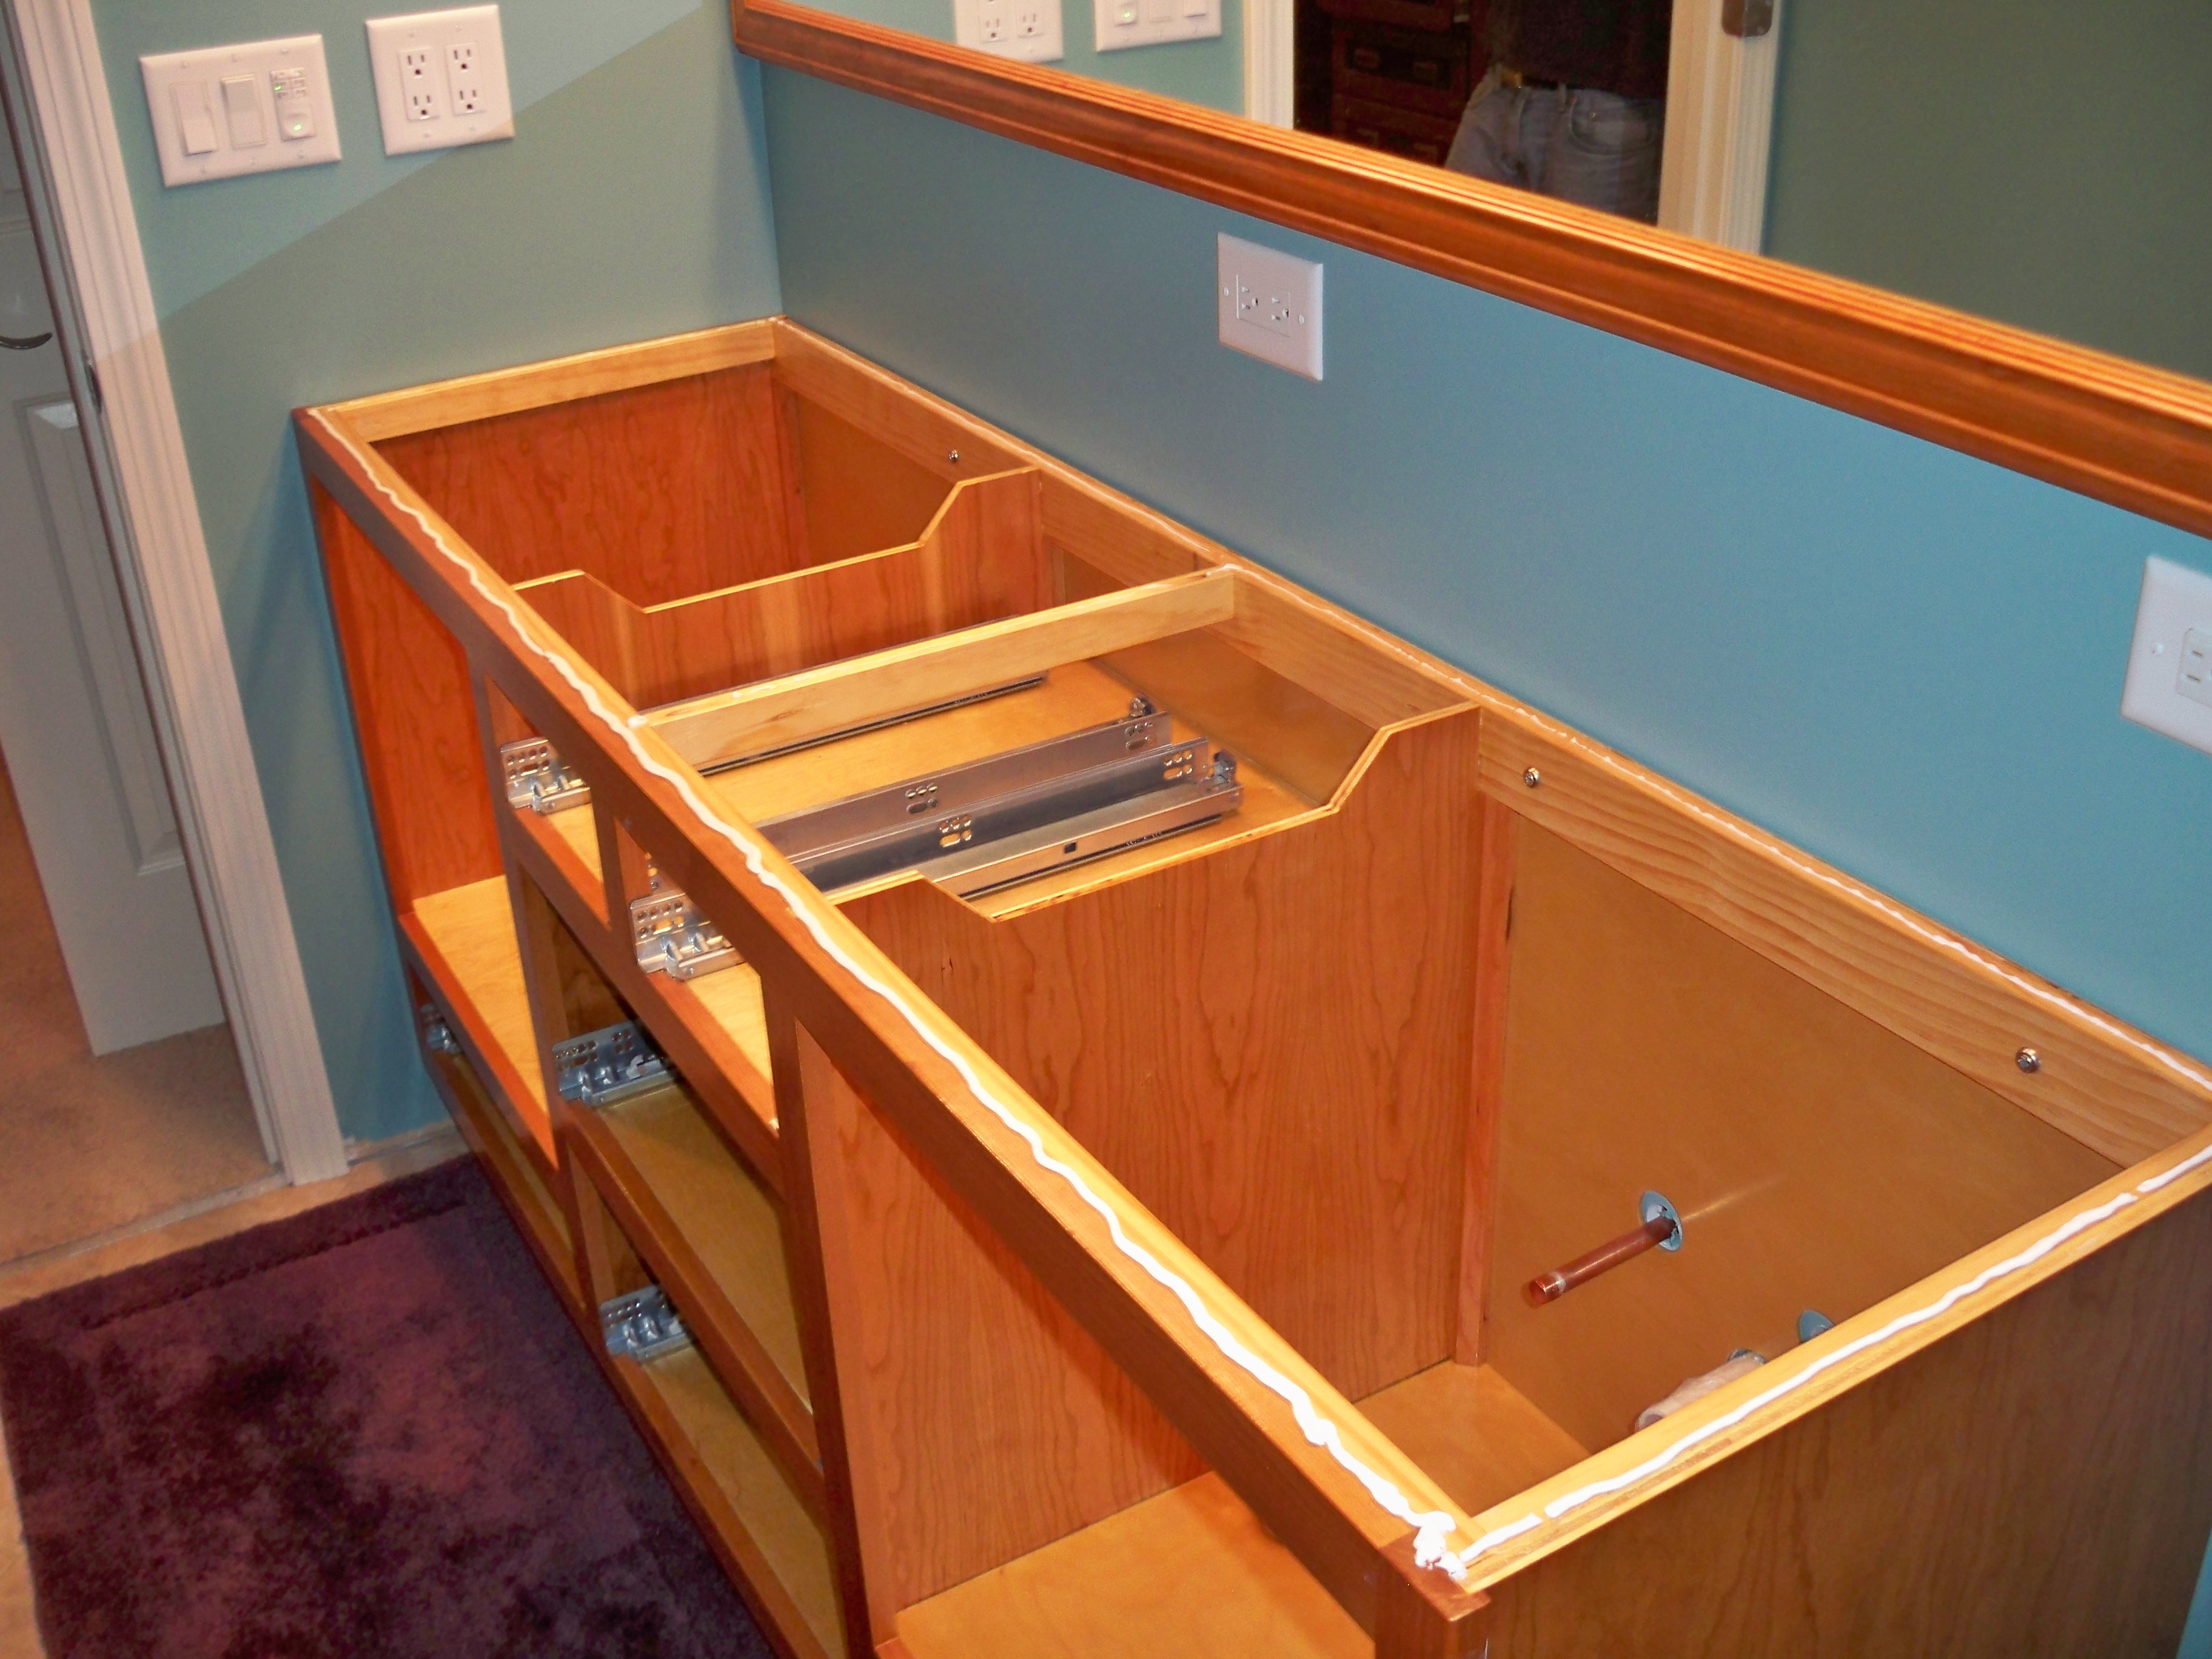
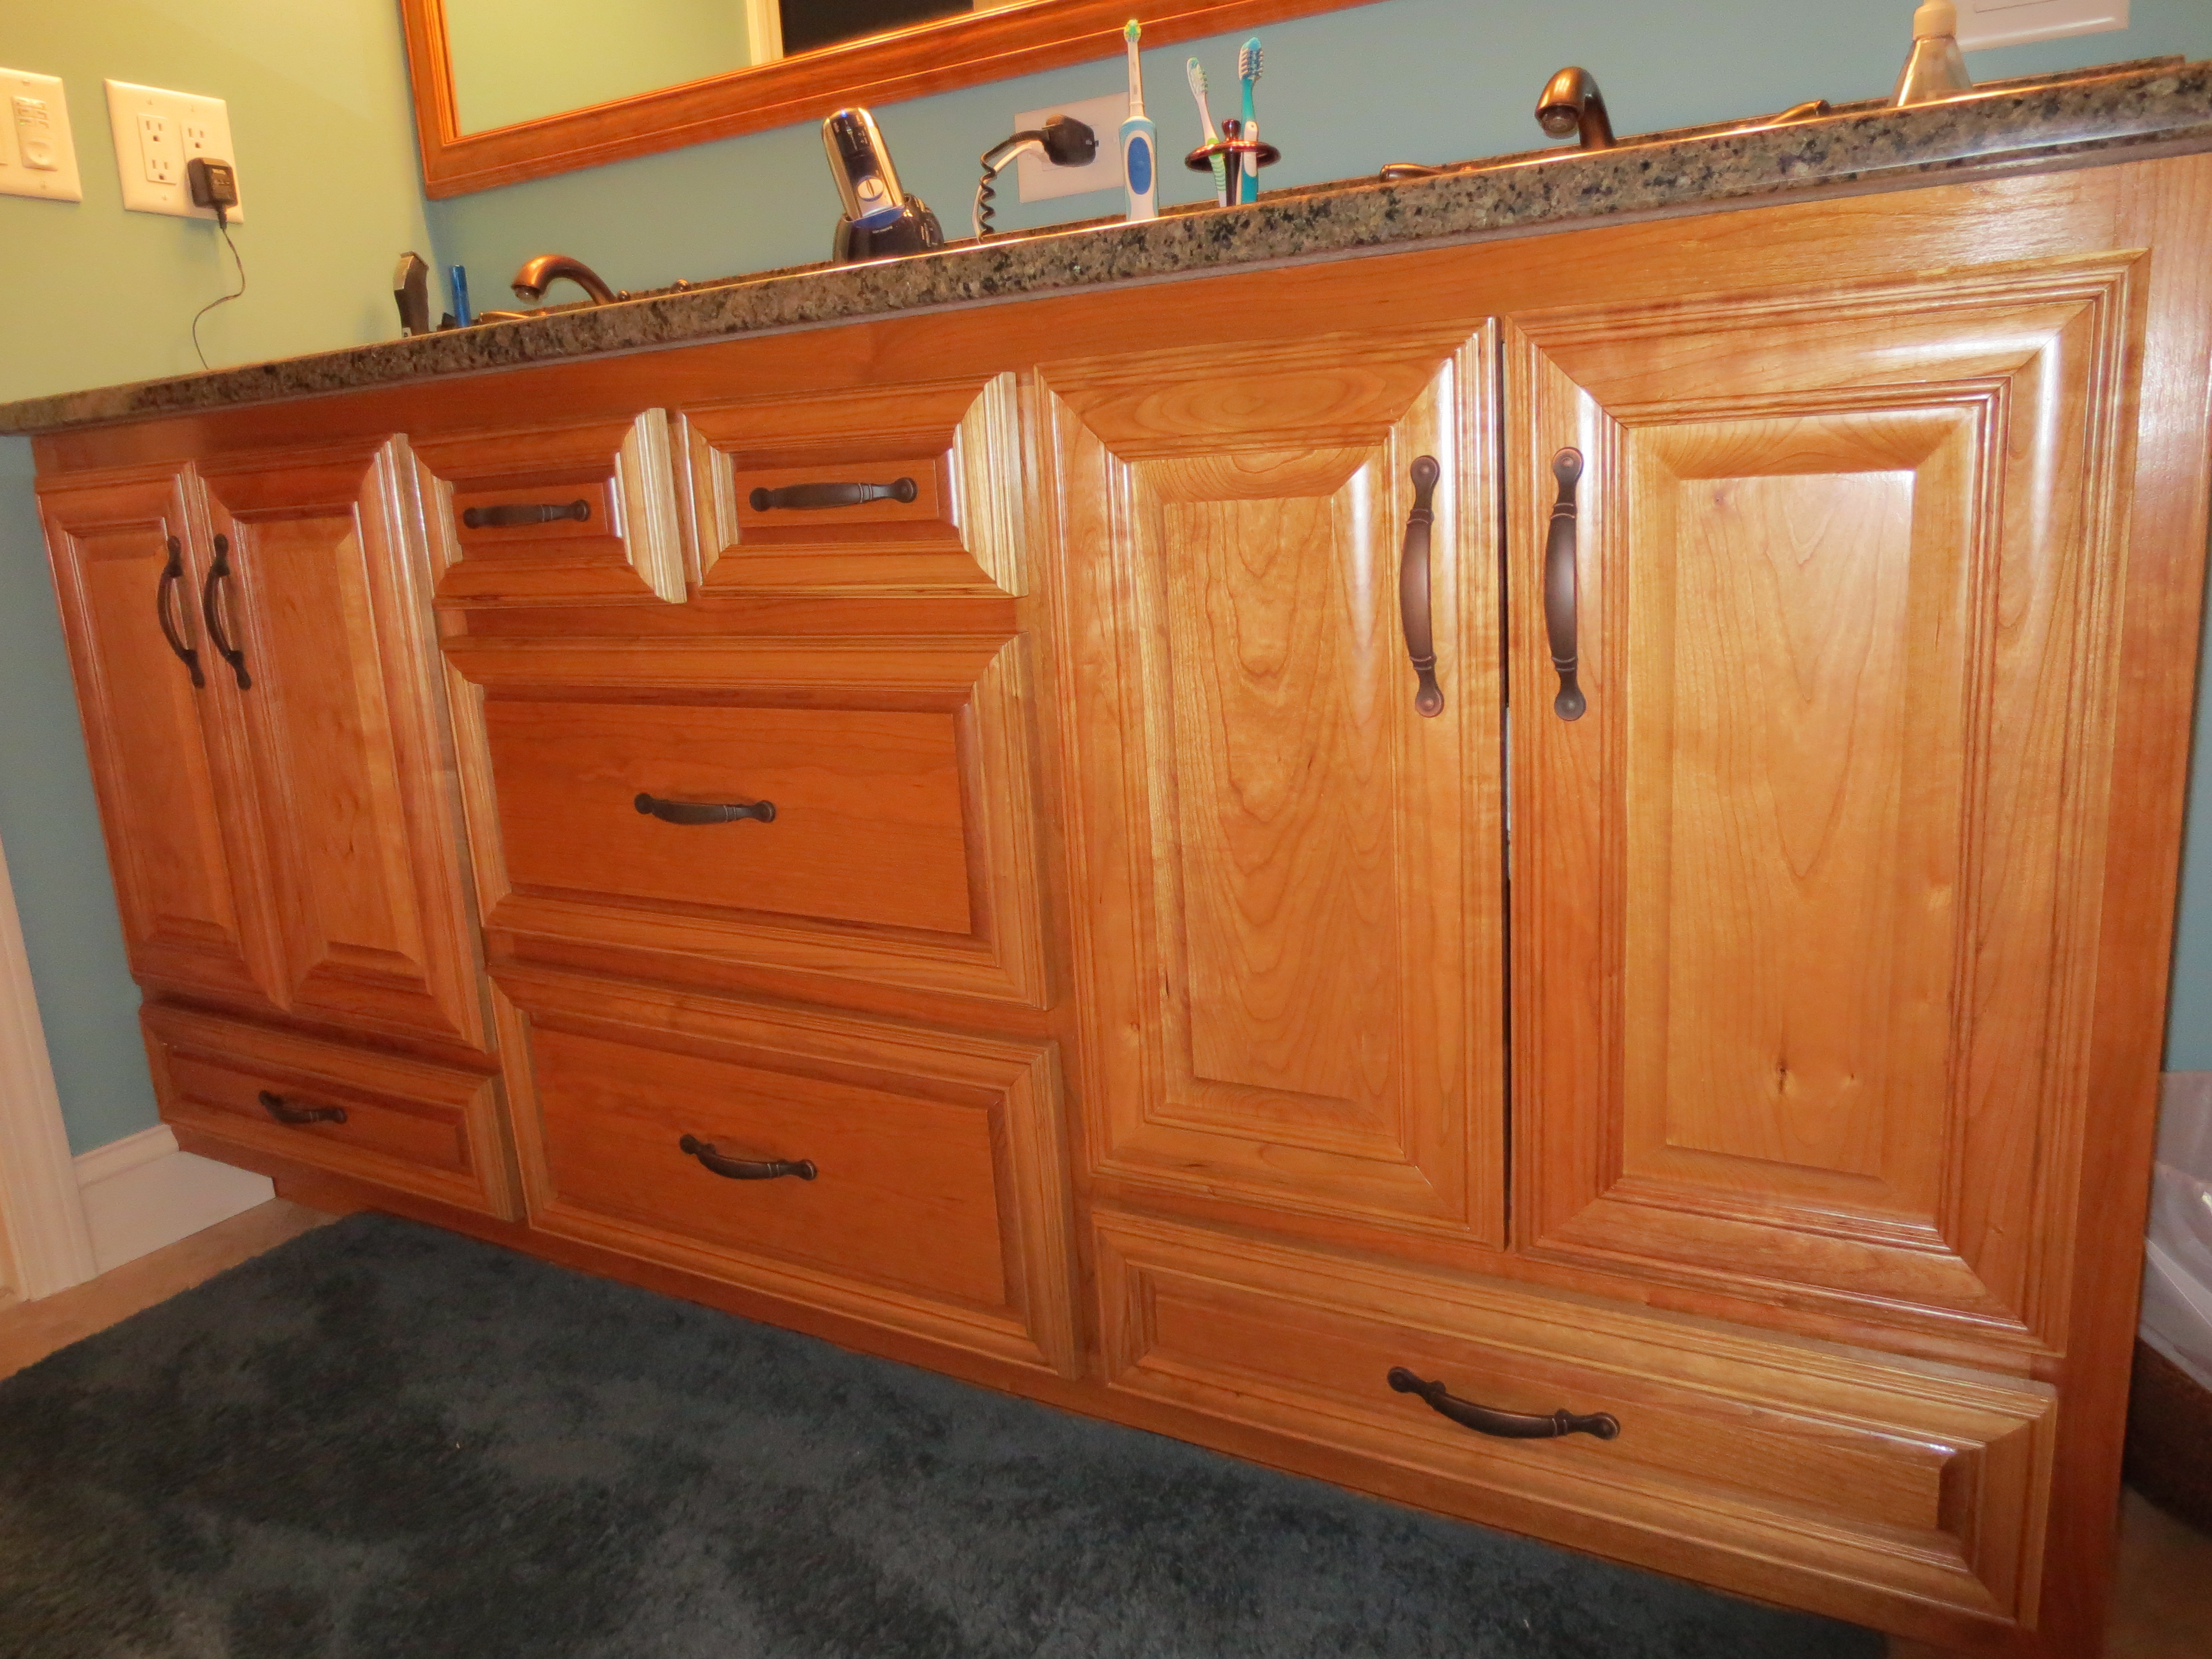
Master Bathroom Vanity and Mirror As-Built and Installed
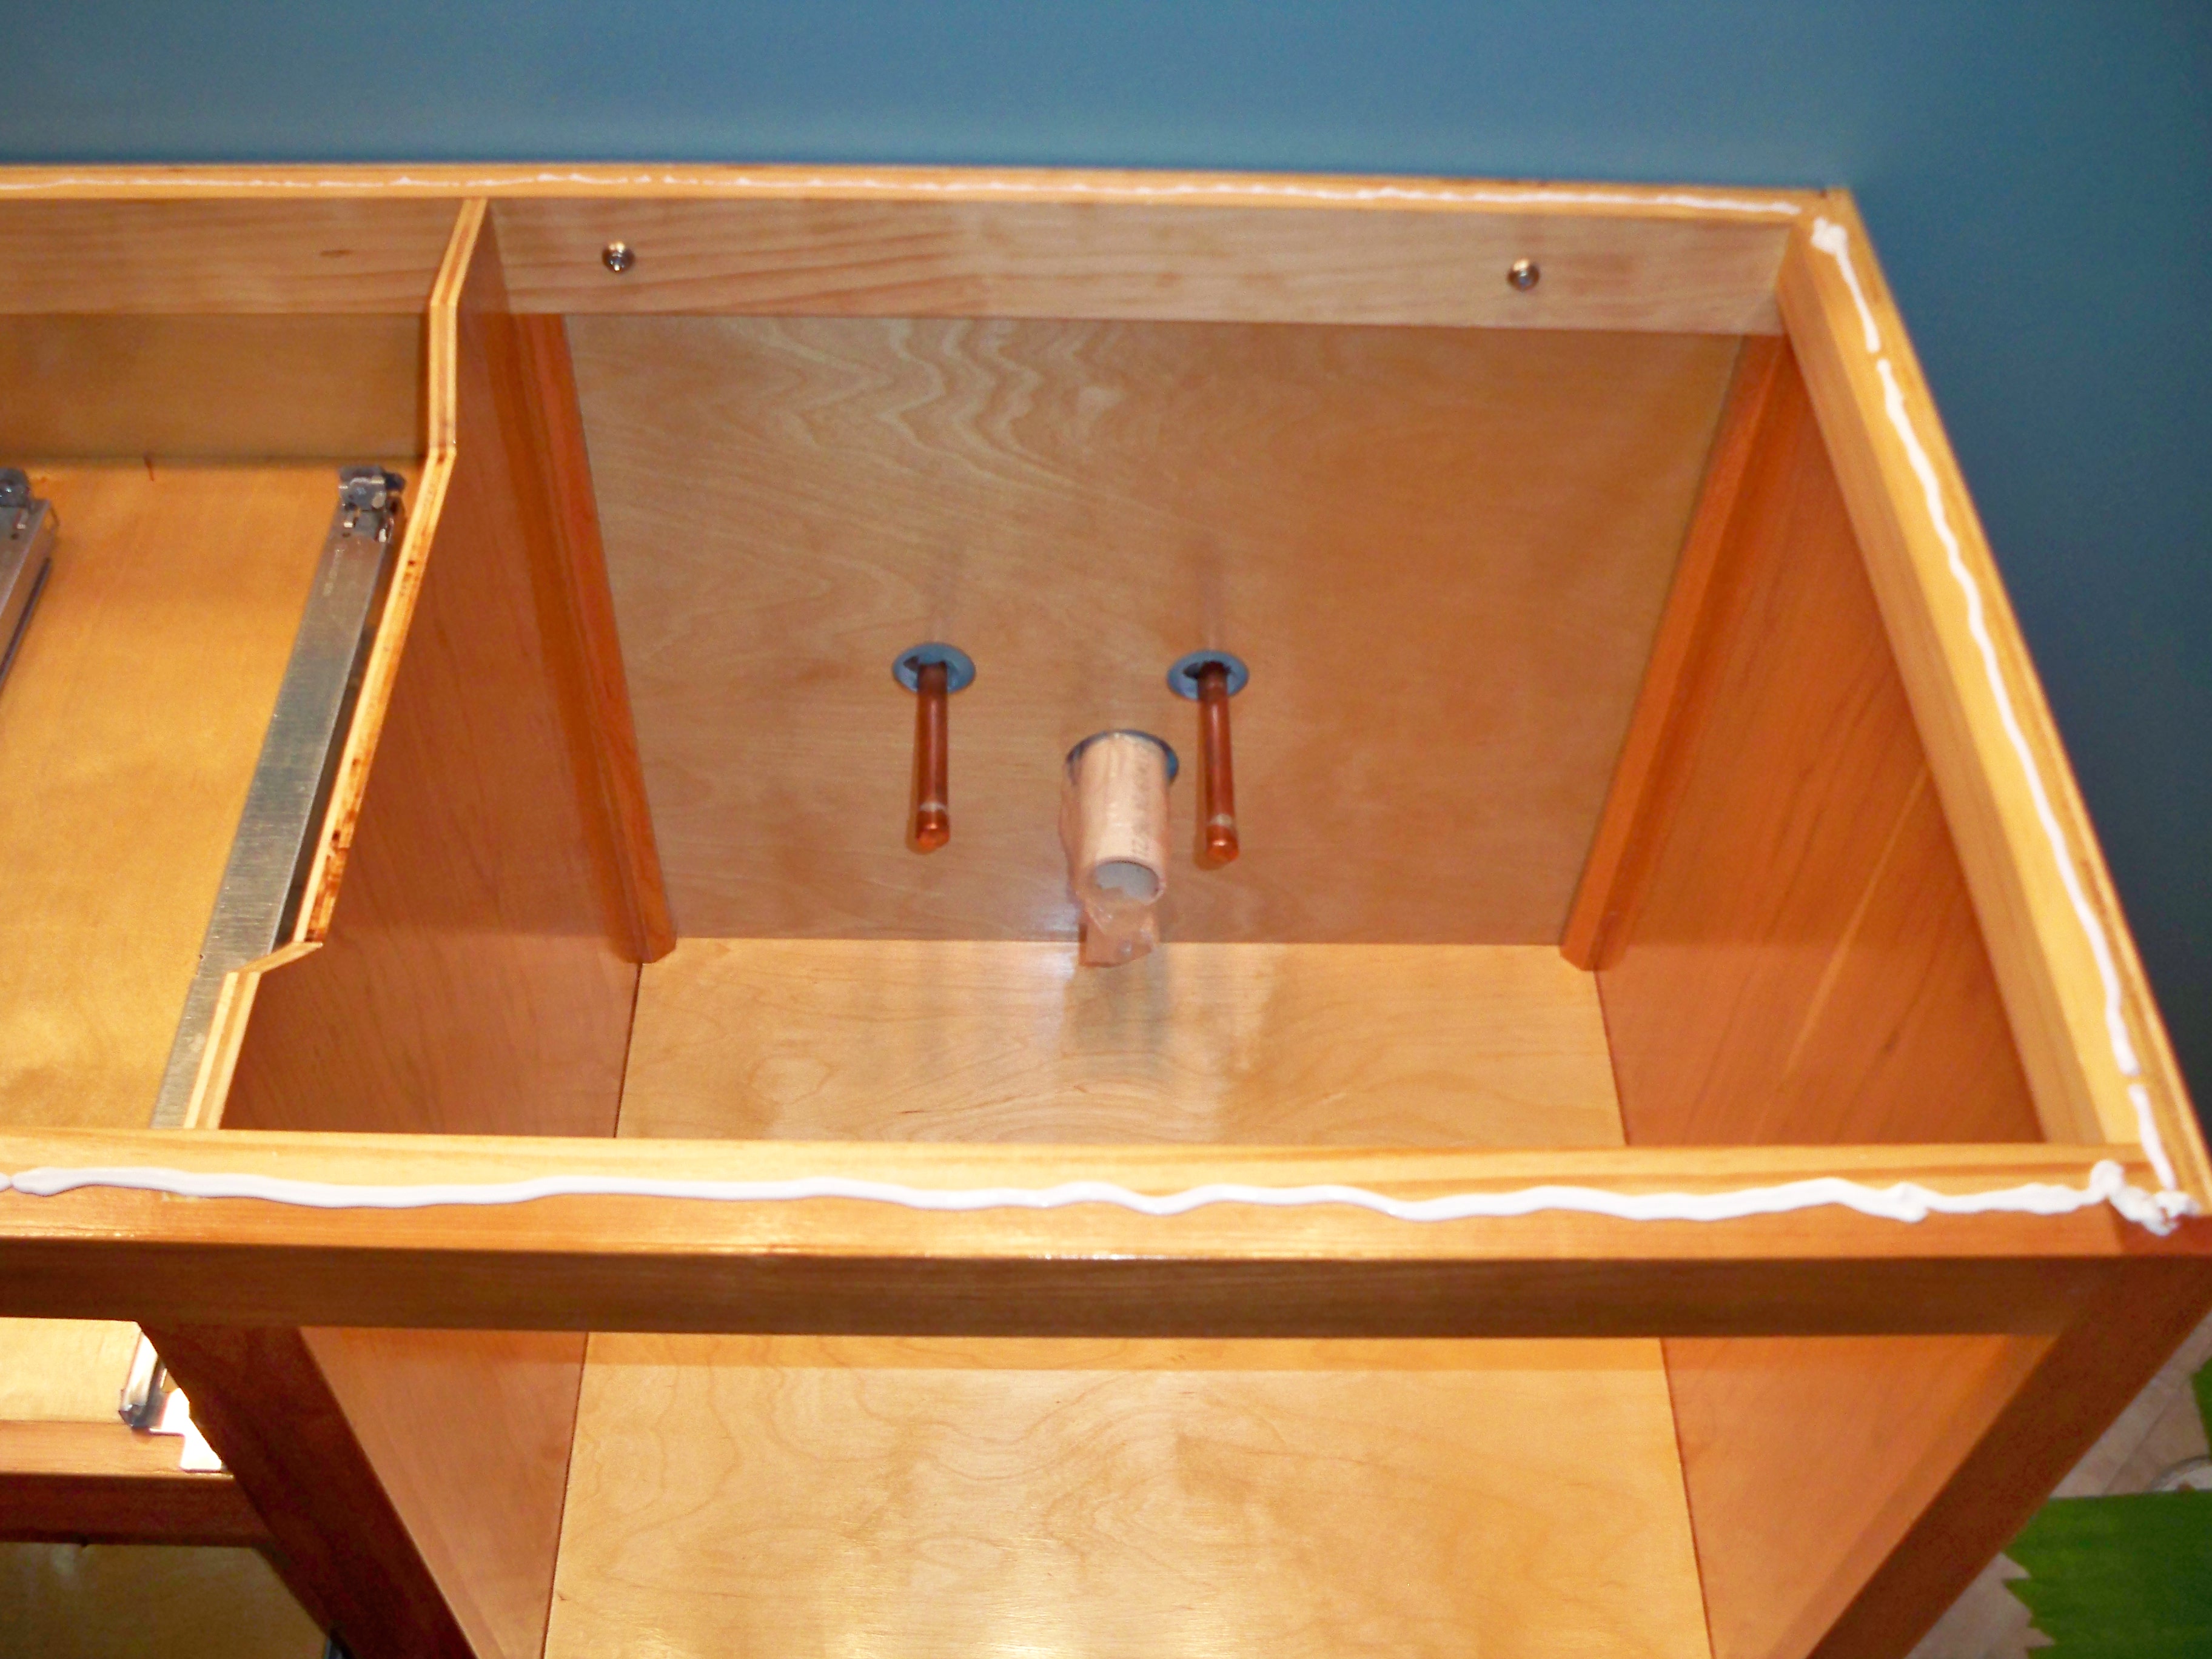
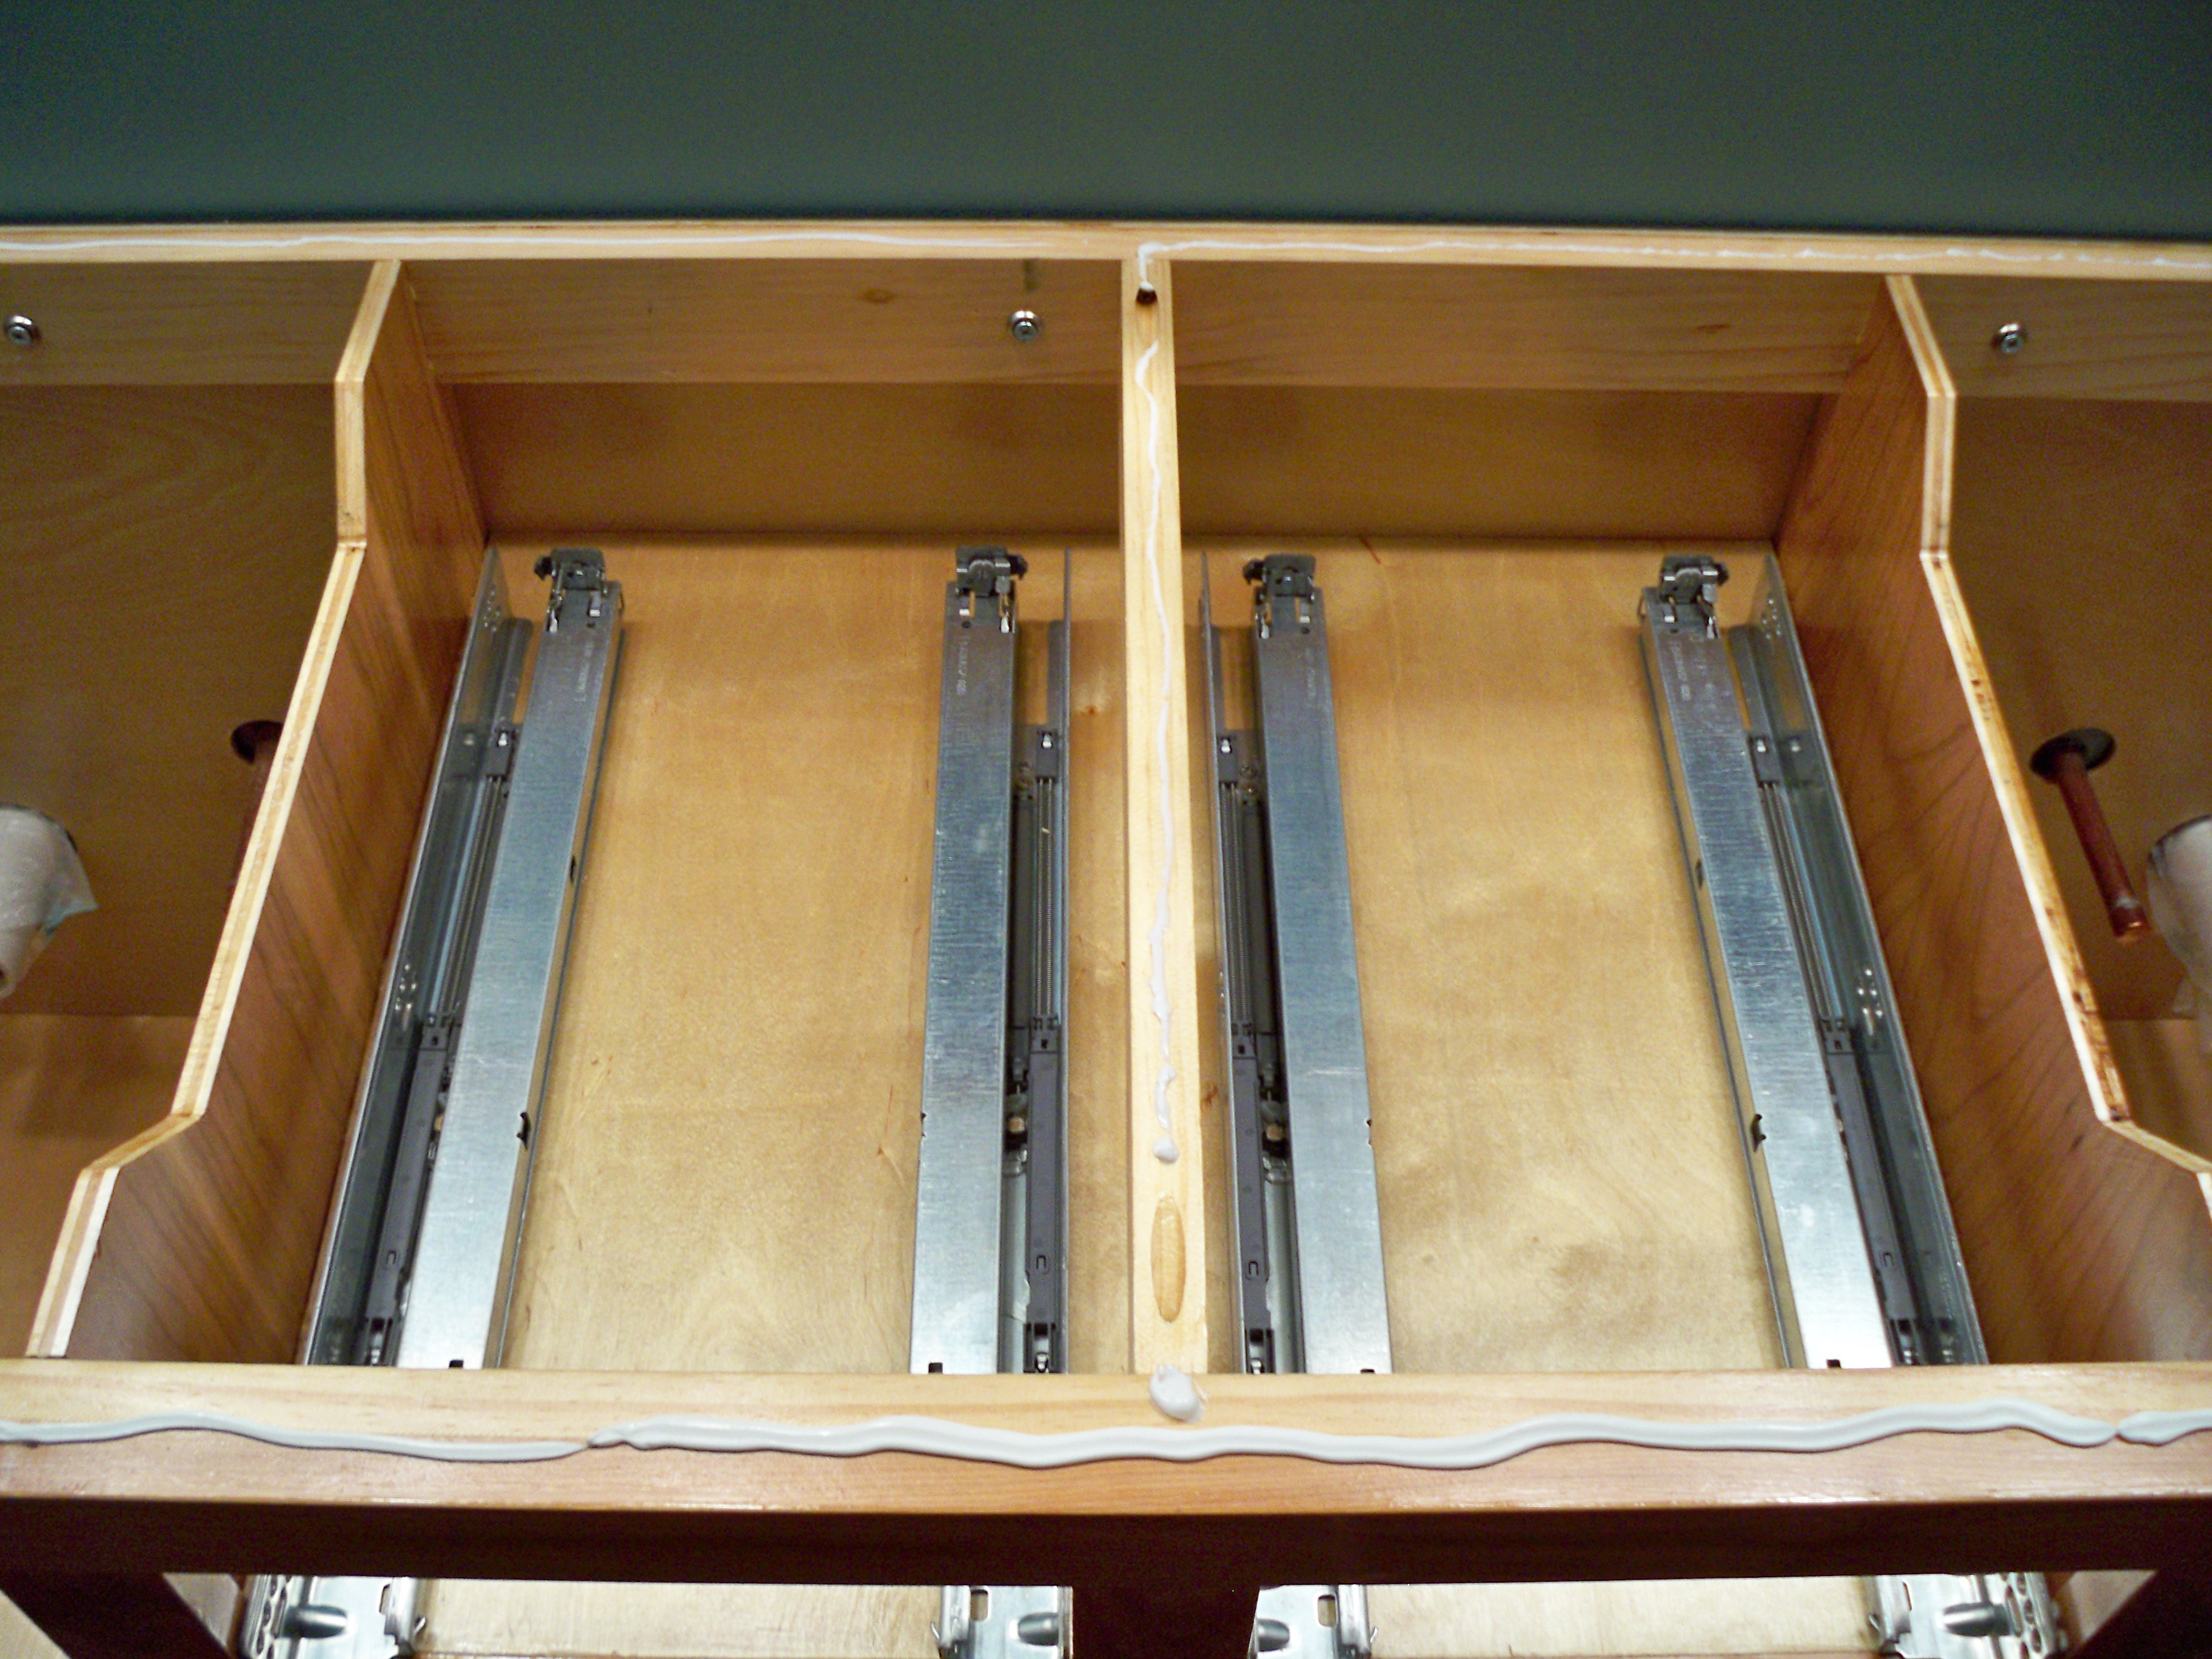
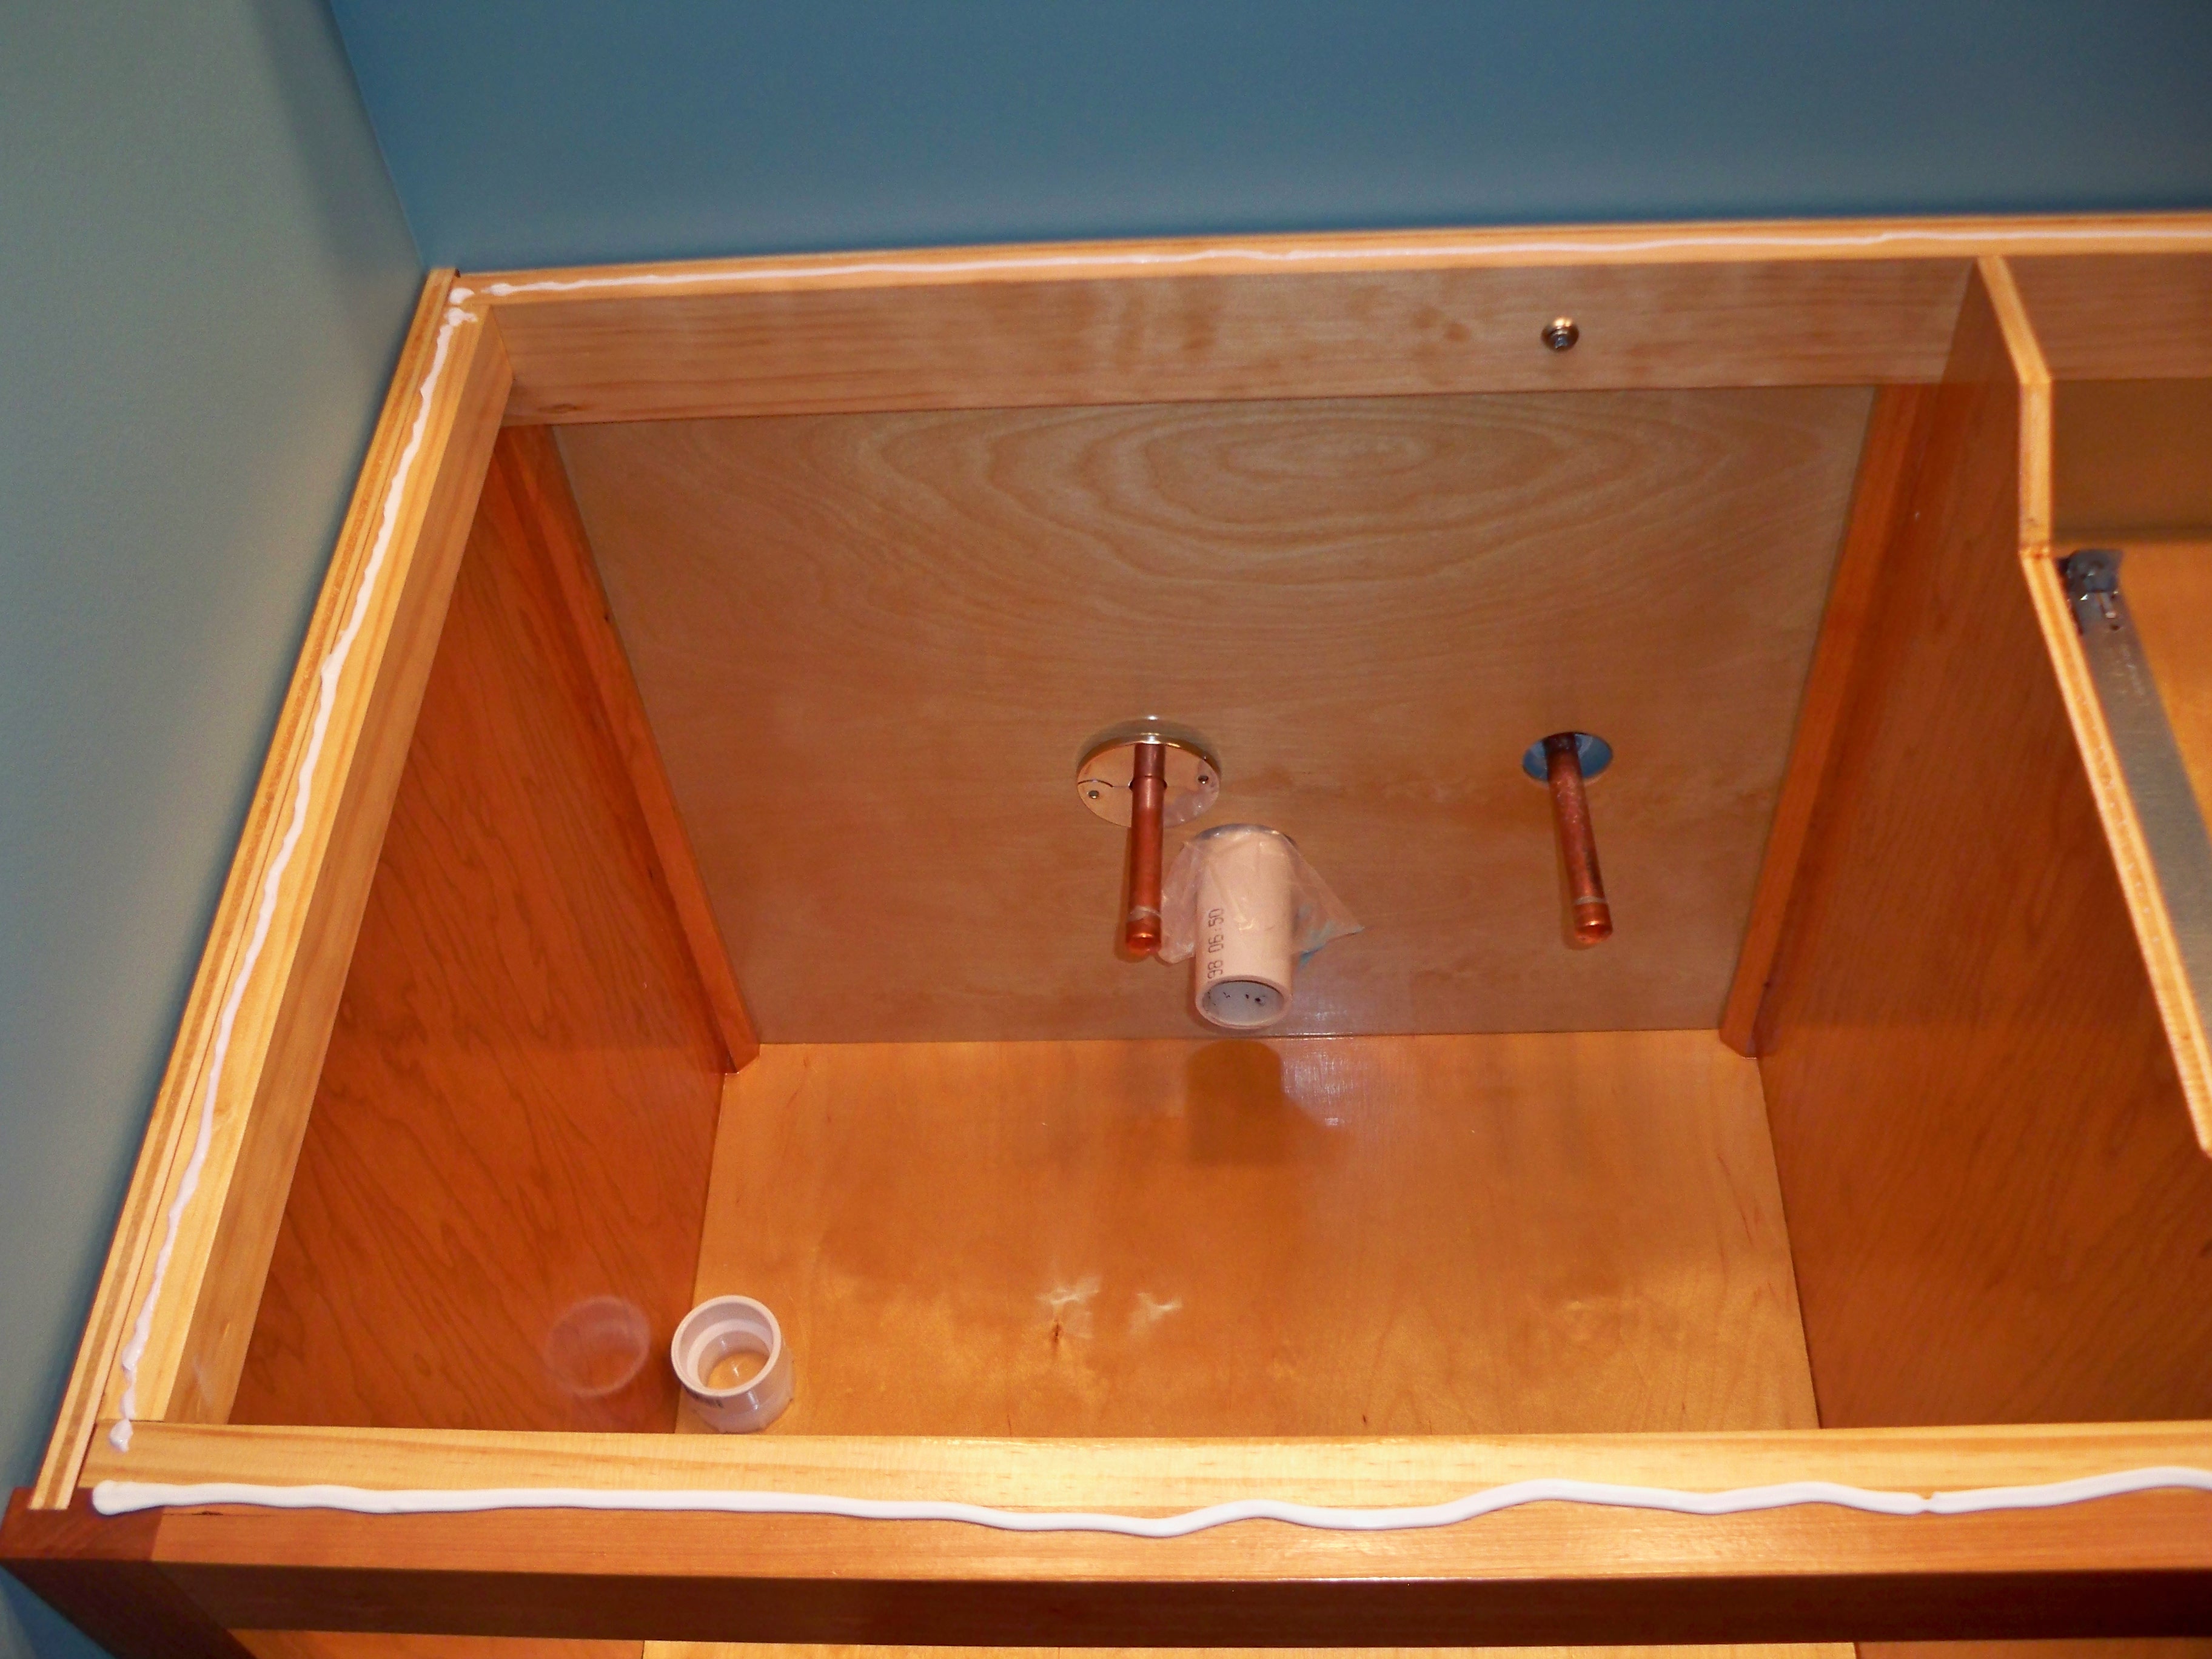
Dual Sink Vanity Build
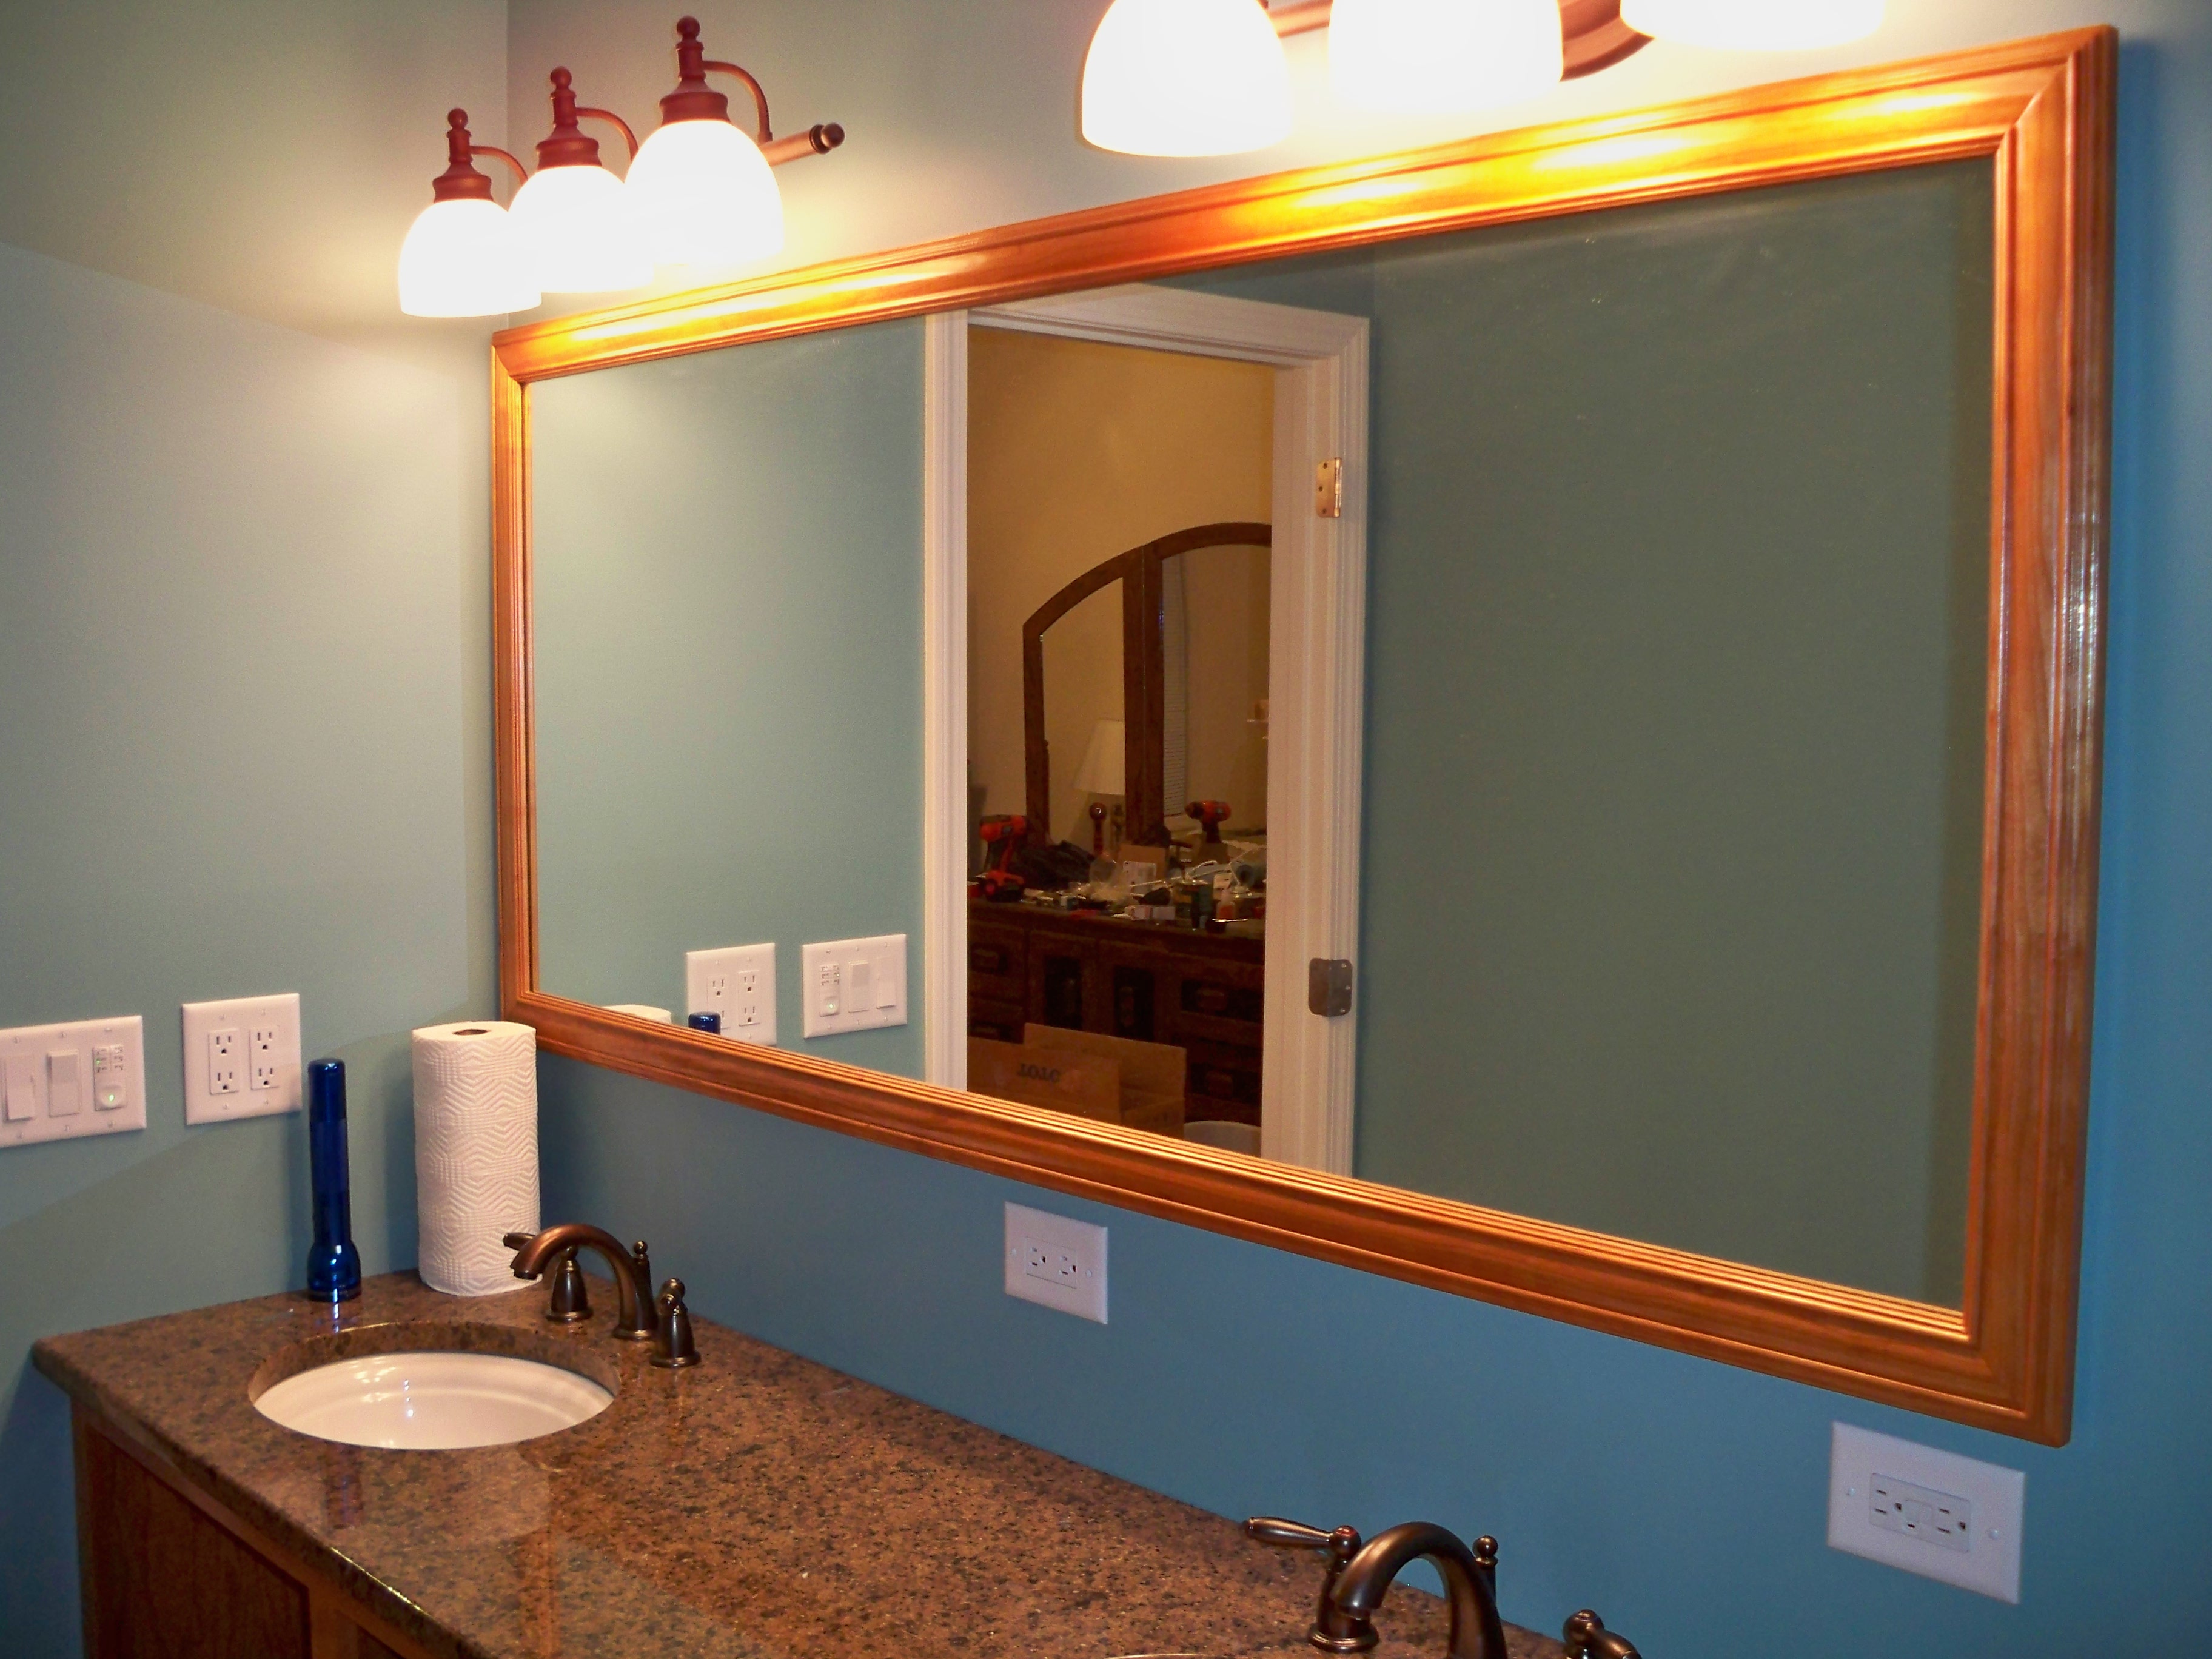
Master Bathroom Mirror Build
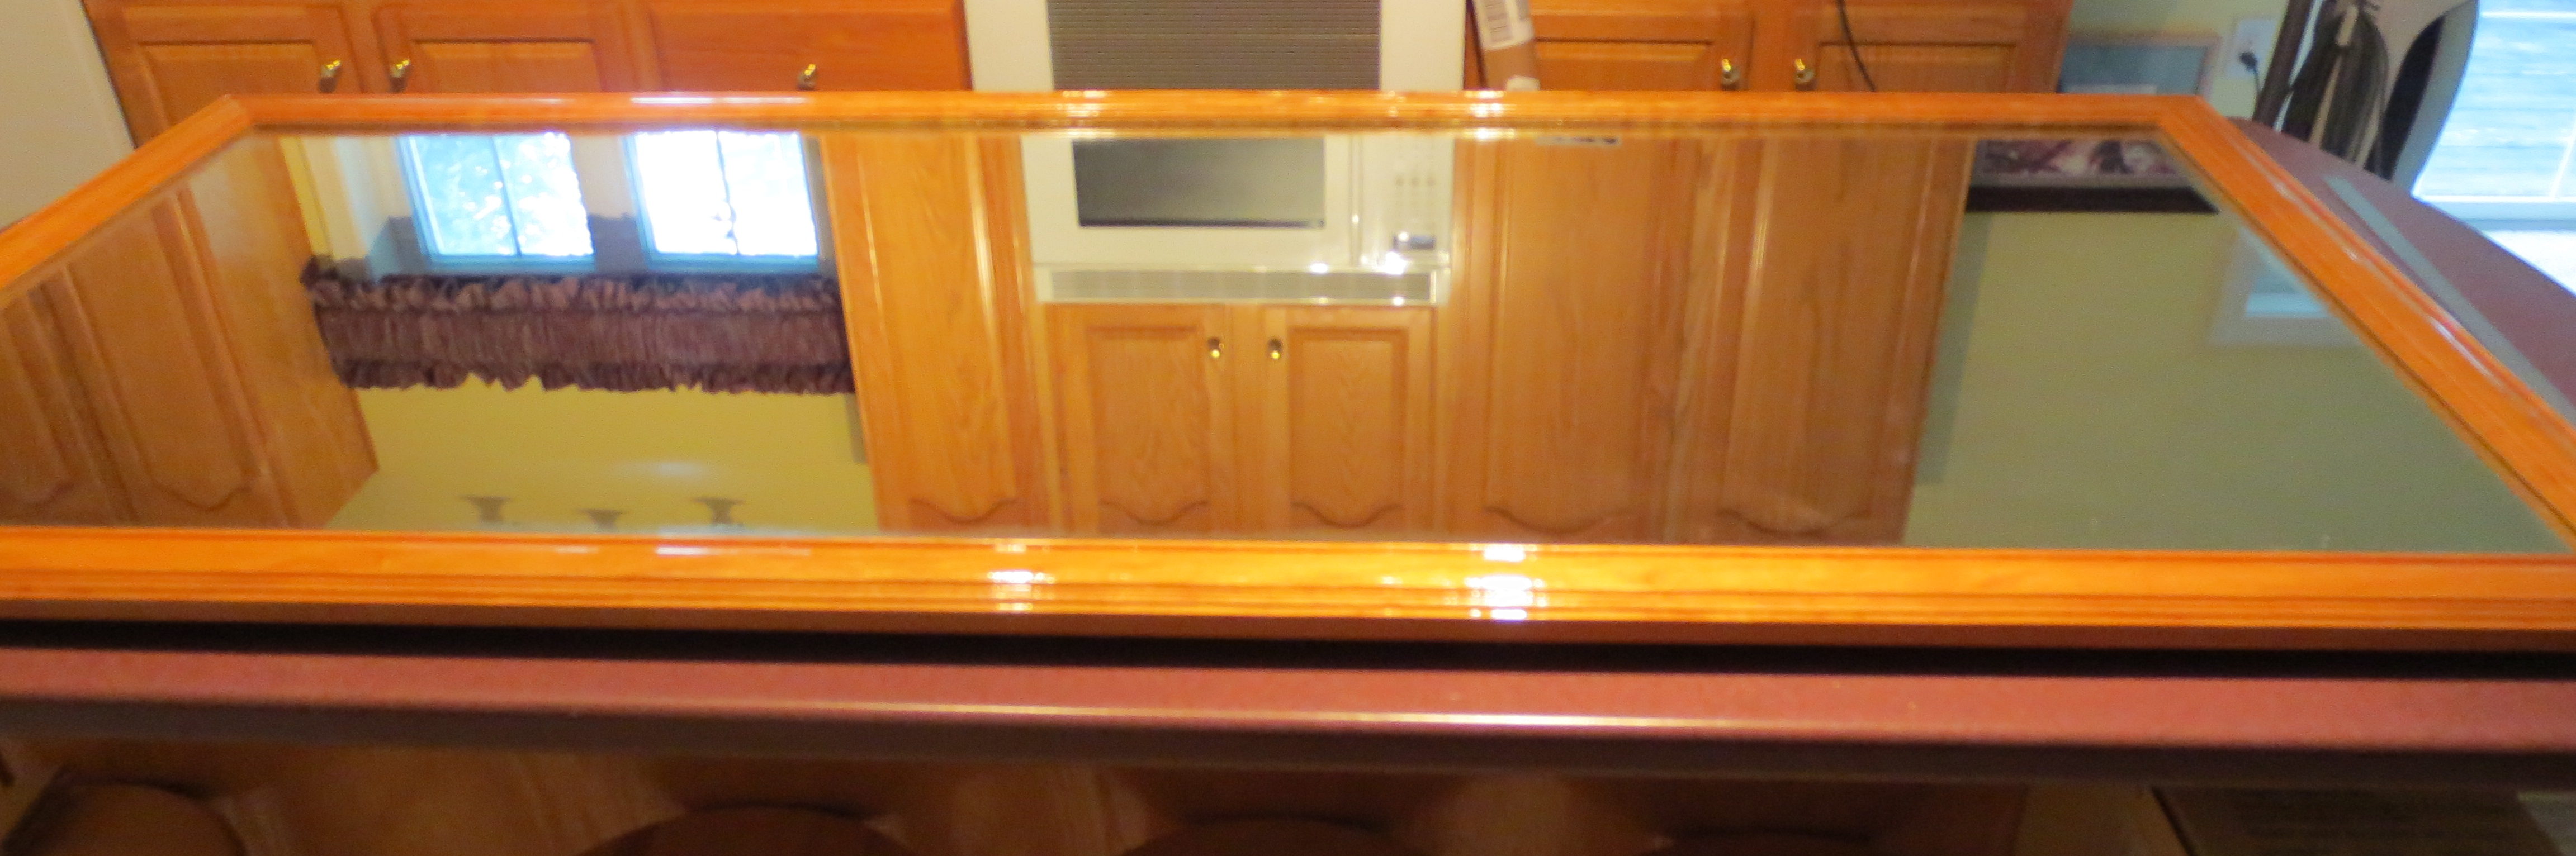
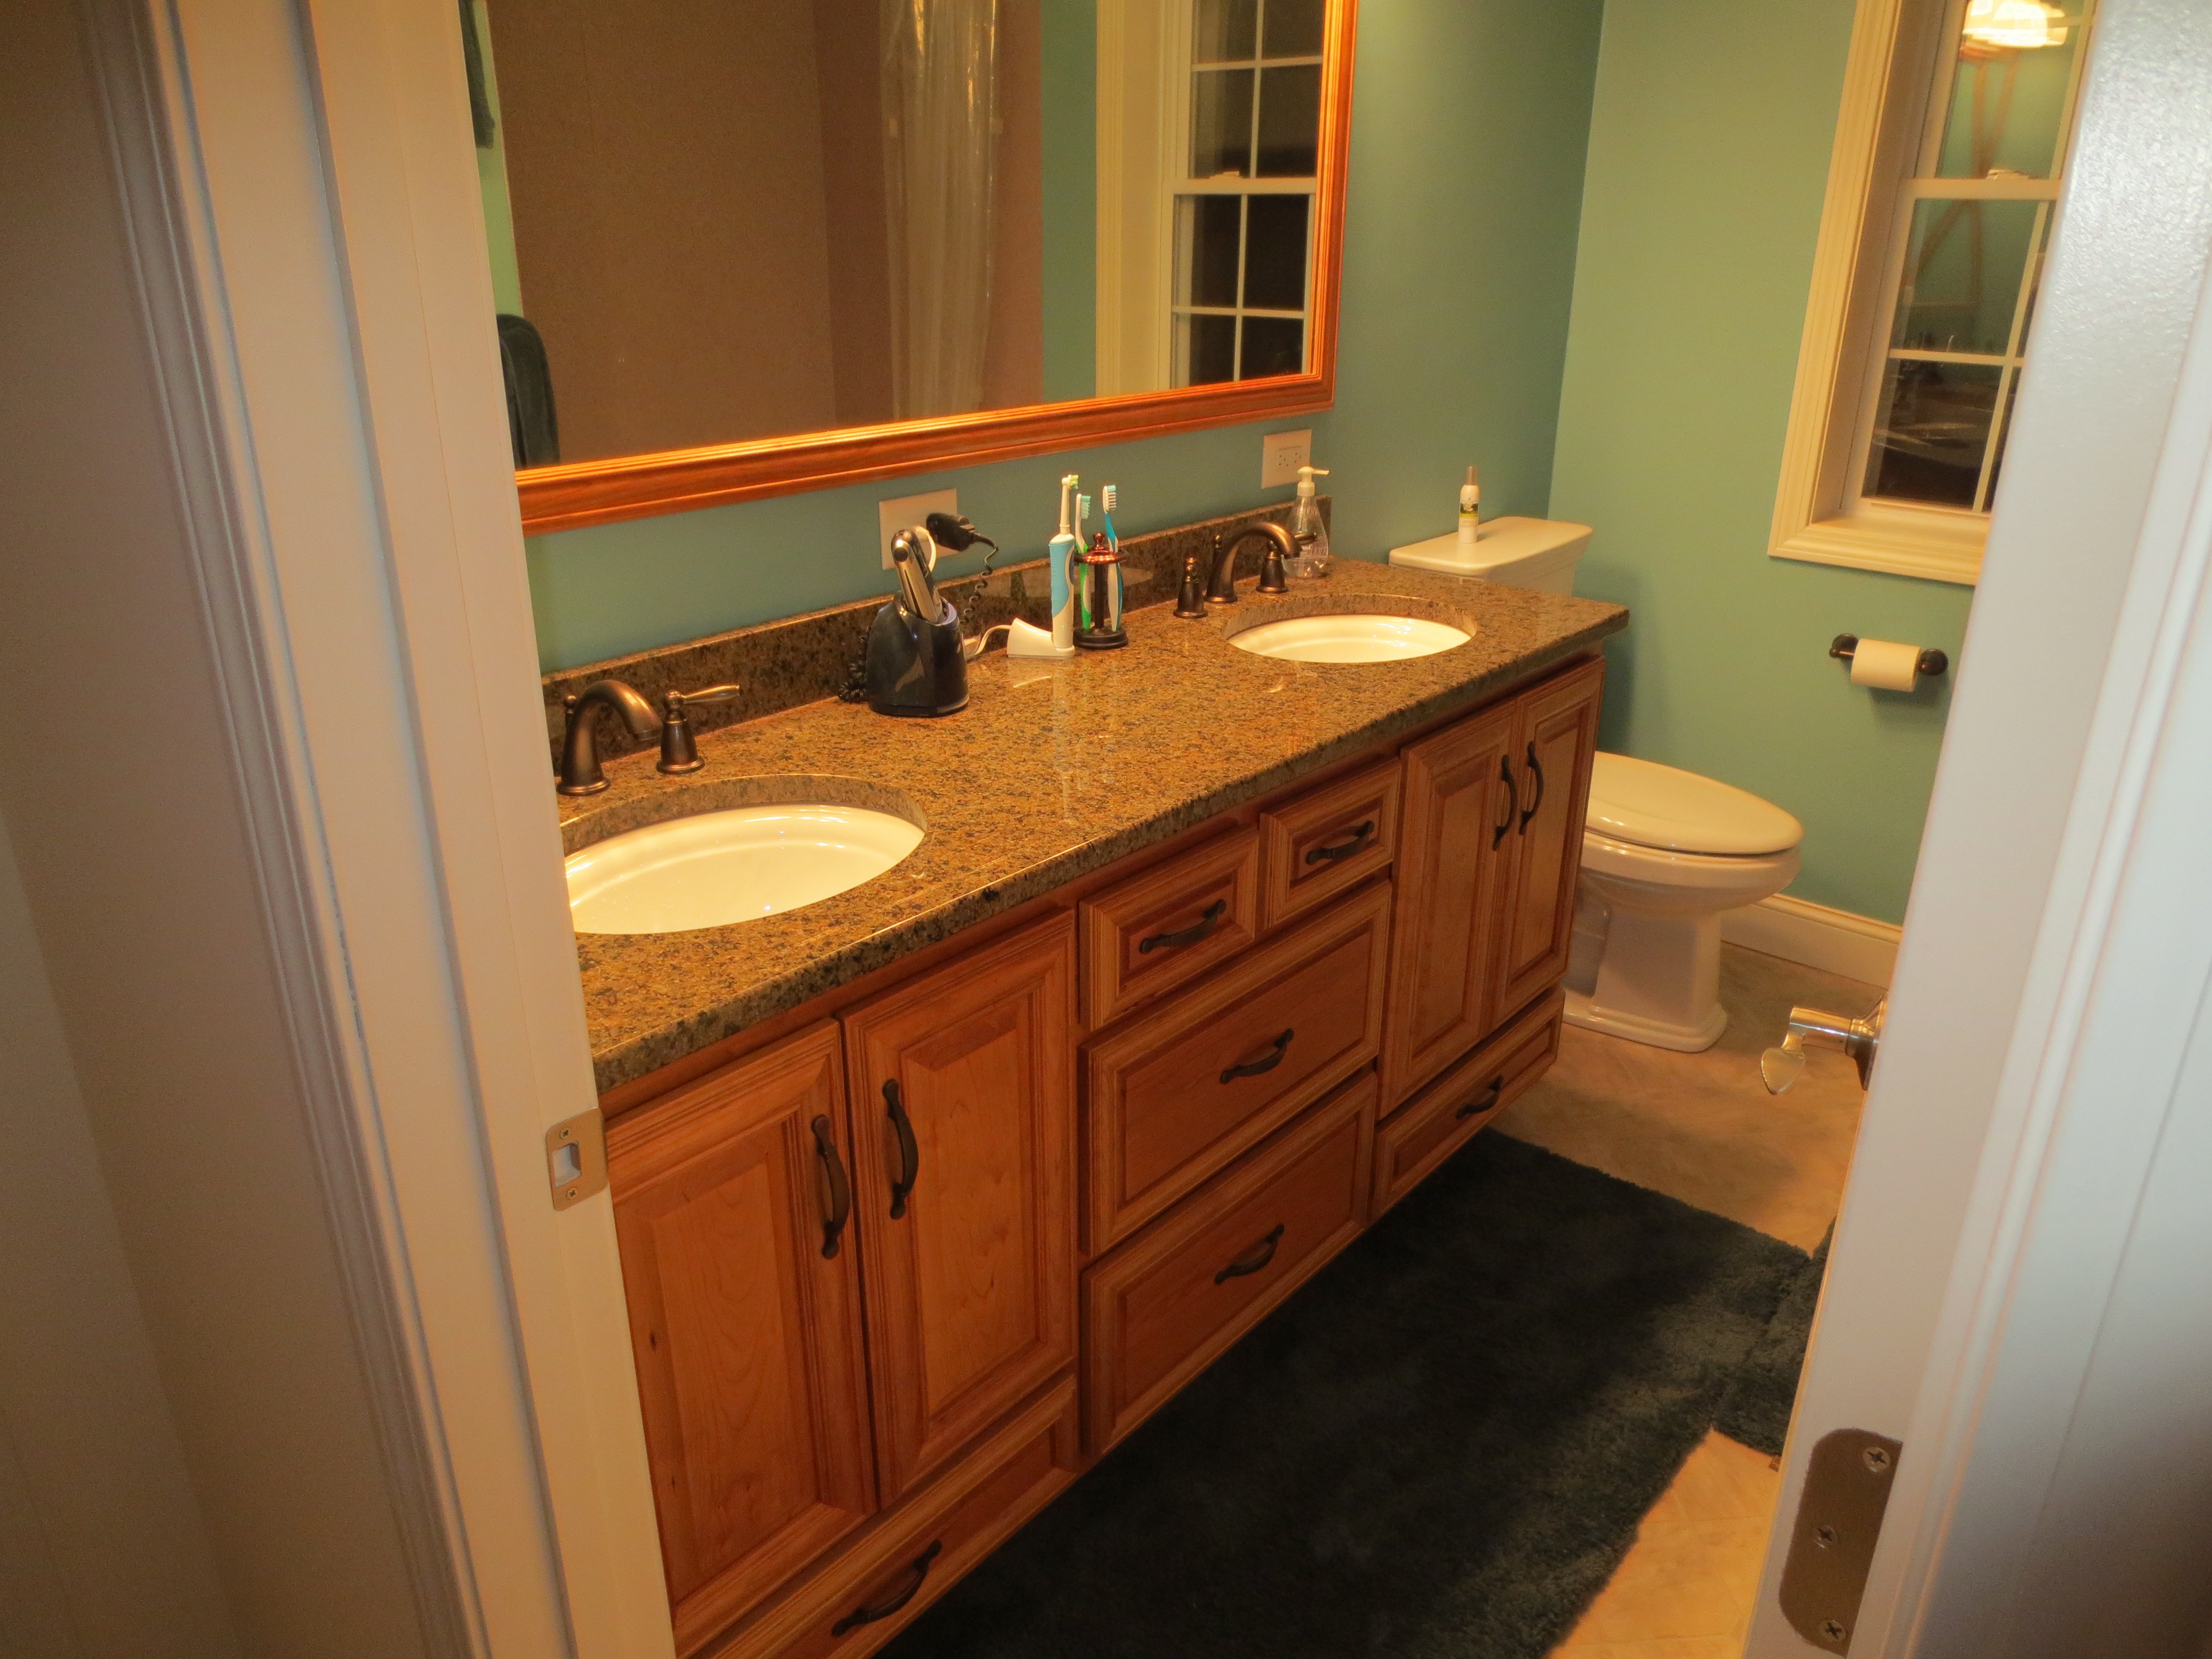
Final Vanity and Mirror Installation

I installed taller trim because I liked the look…
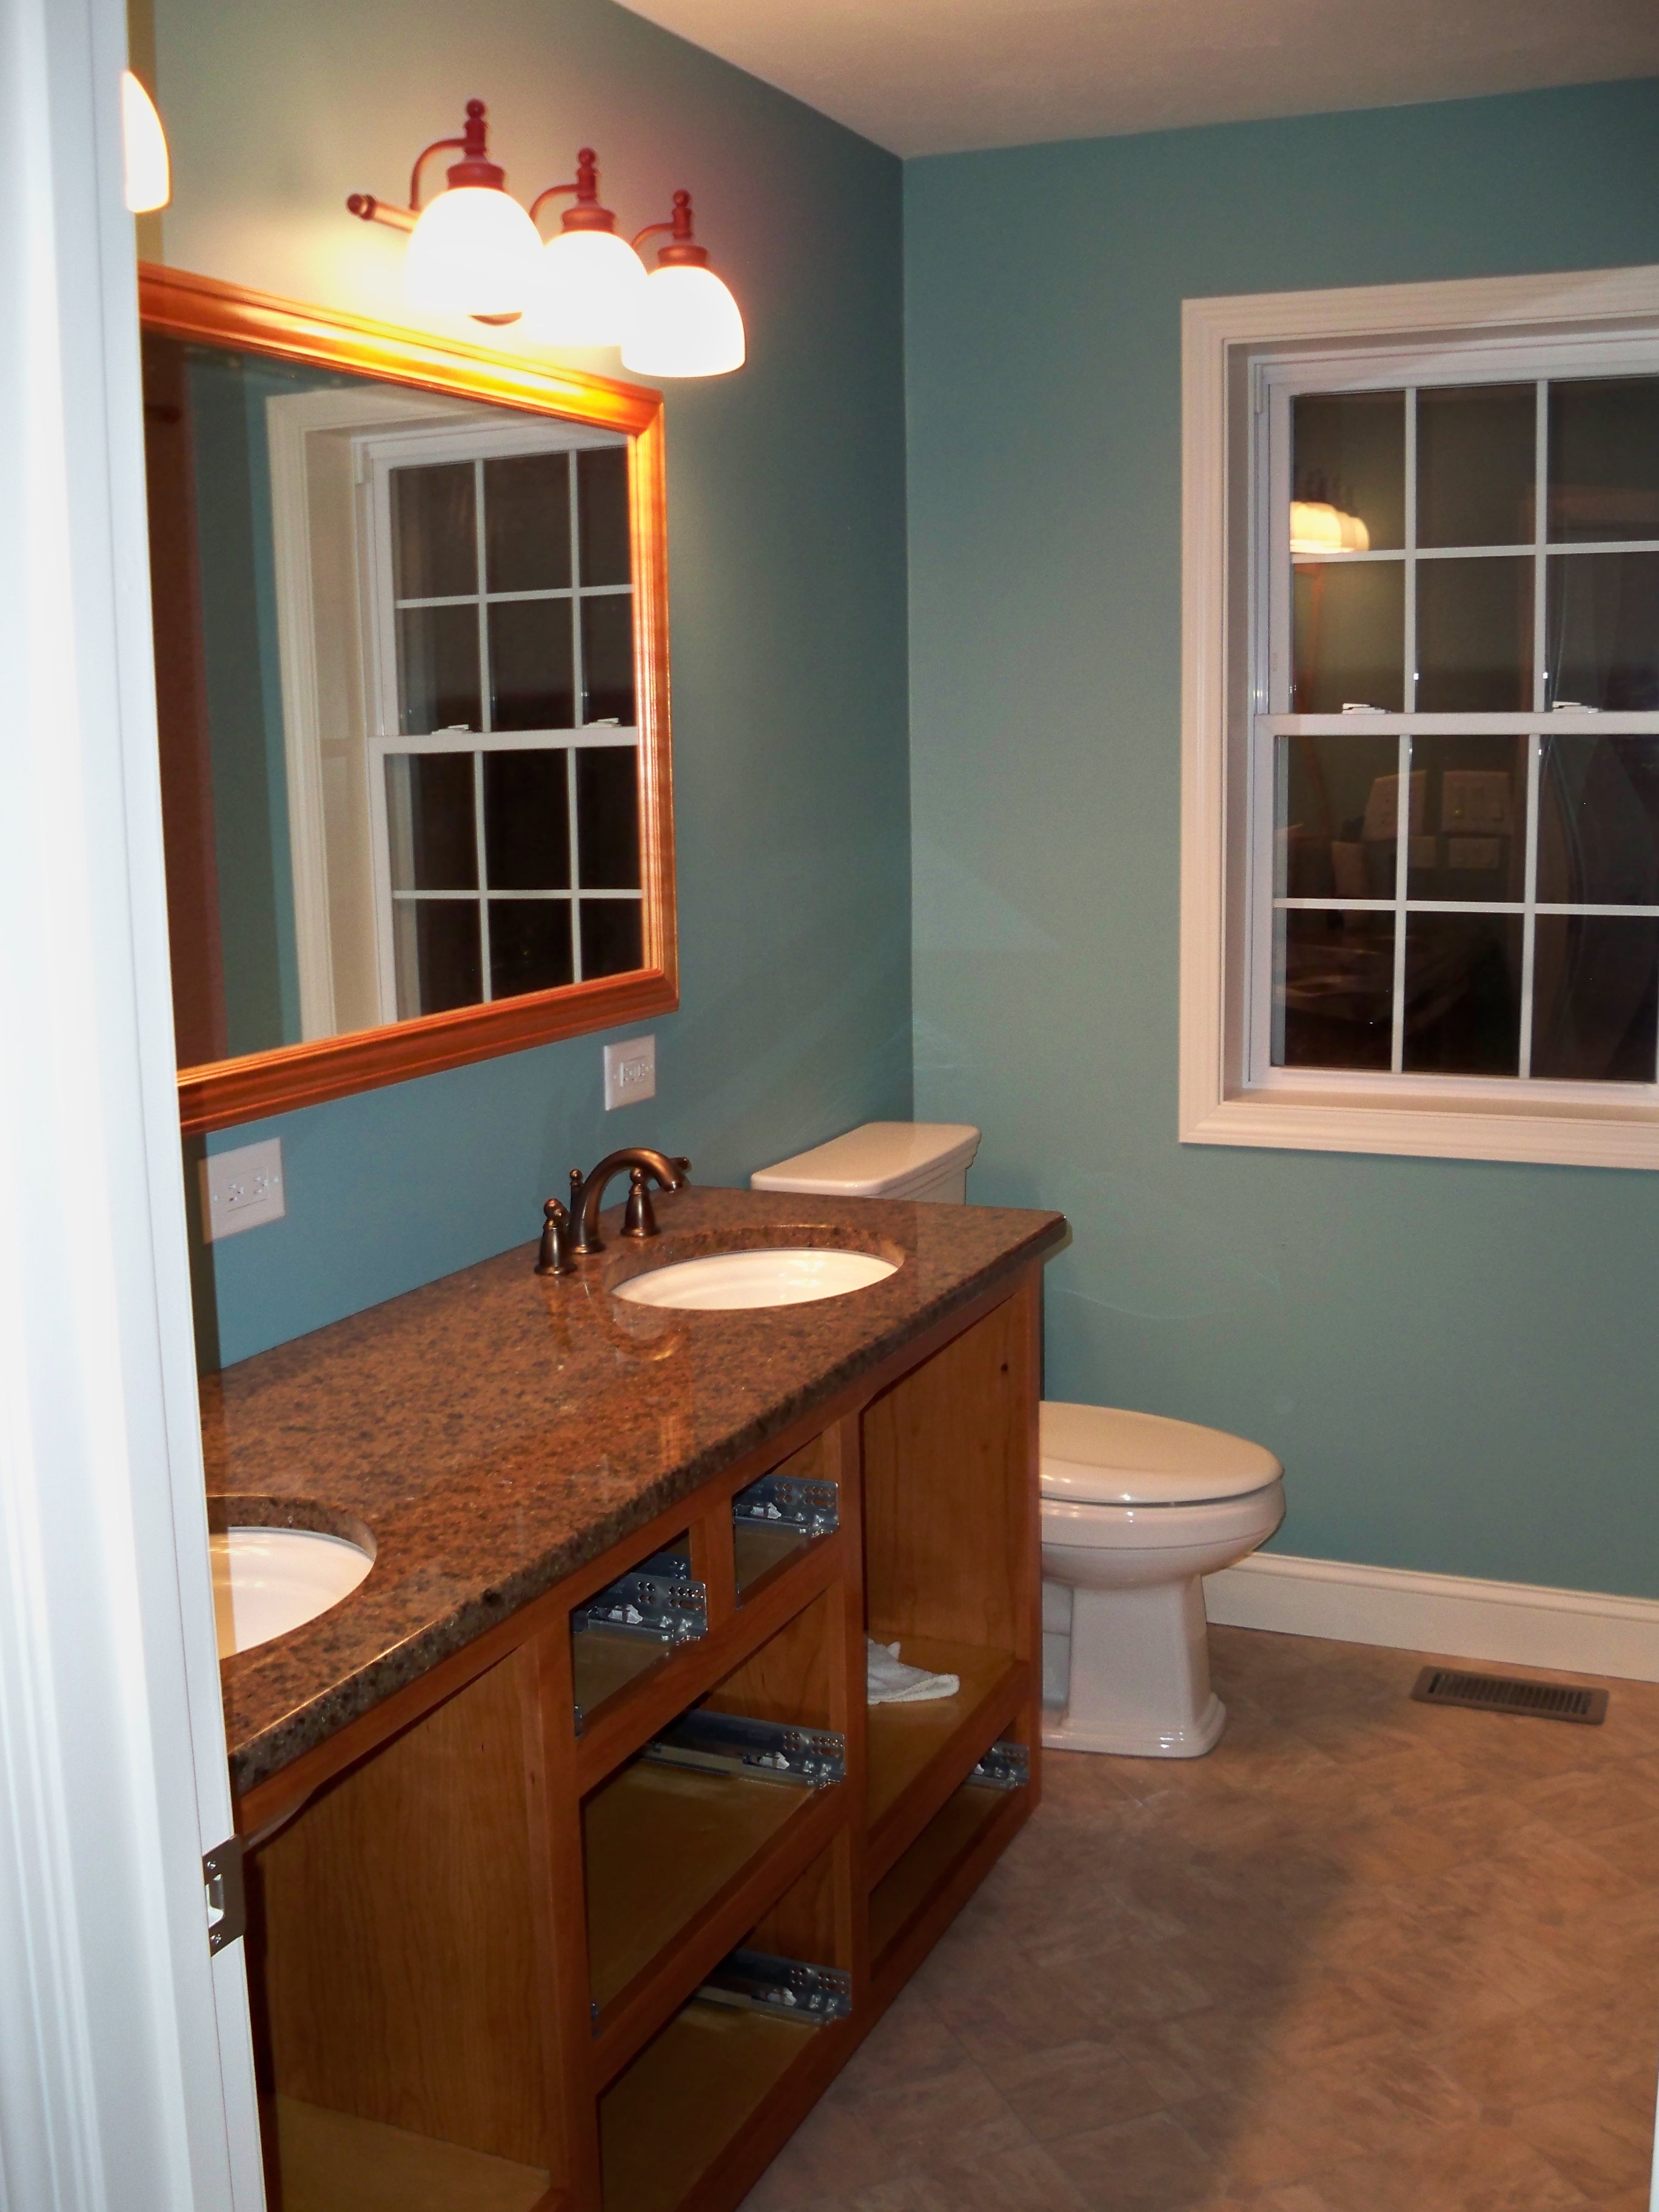
Add the doors and drawers…
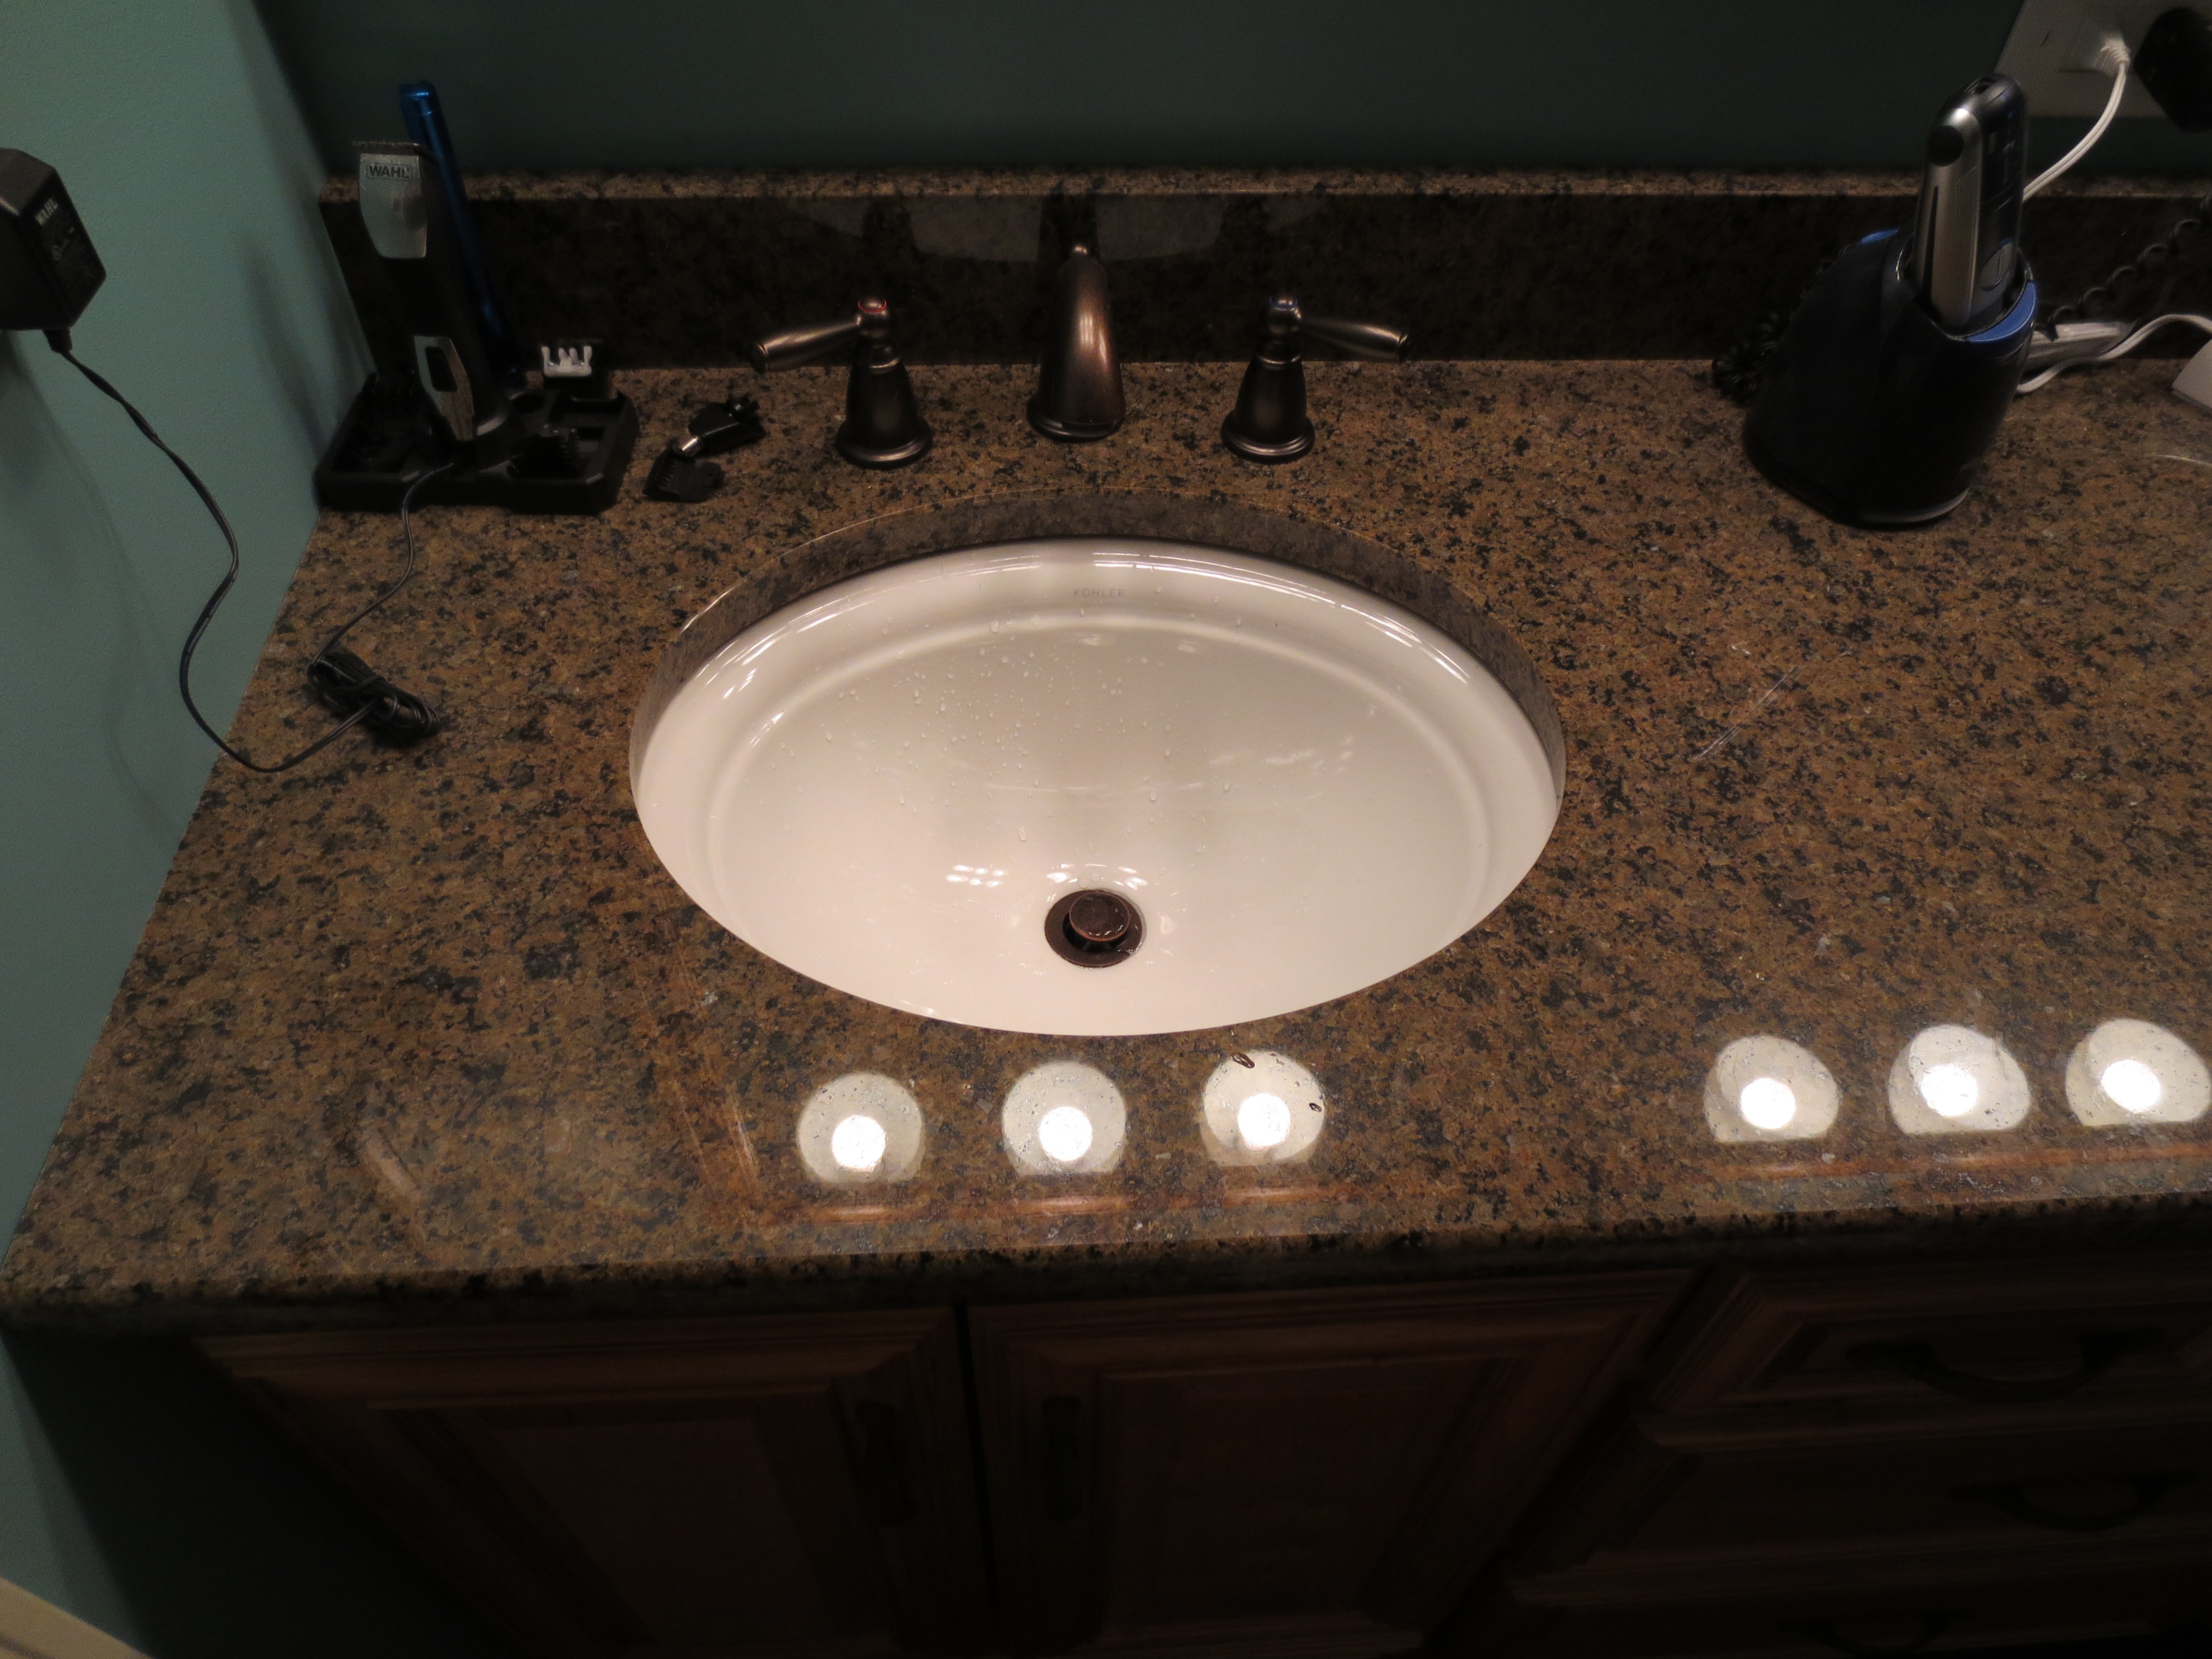
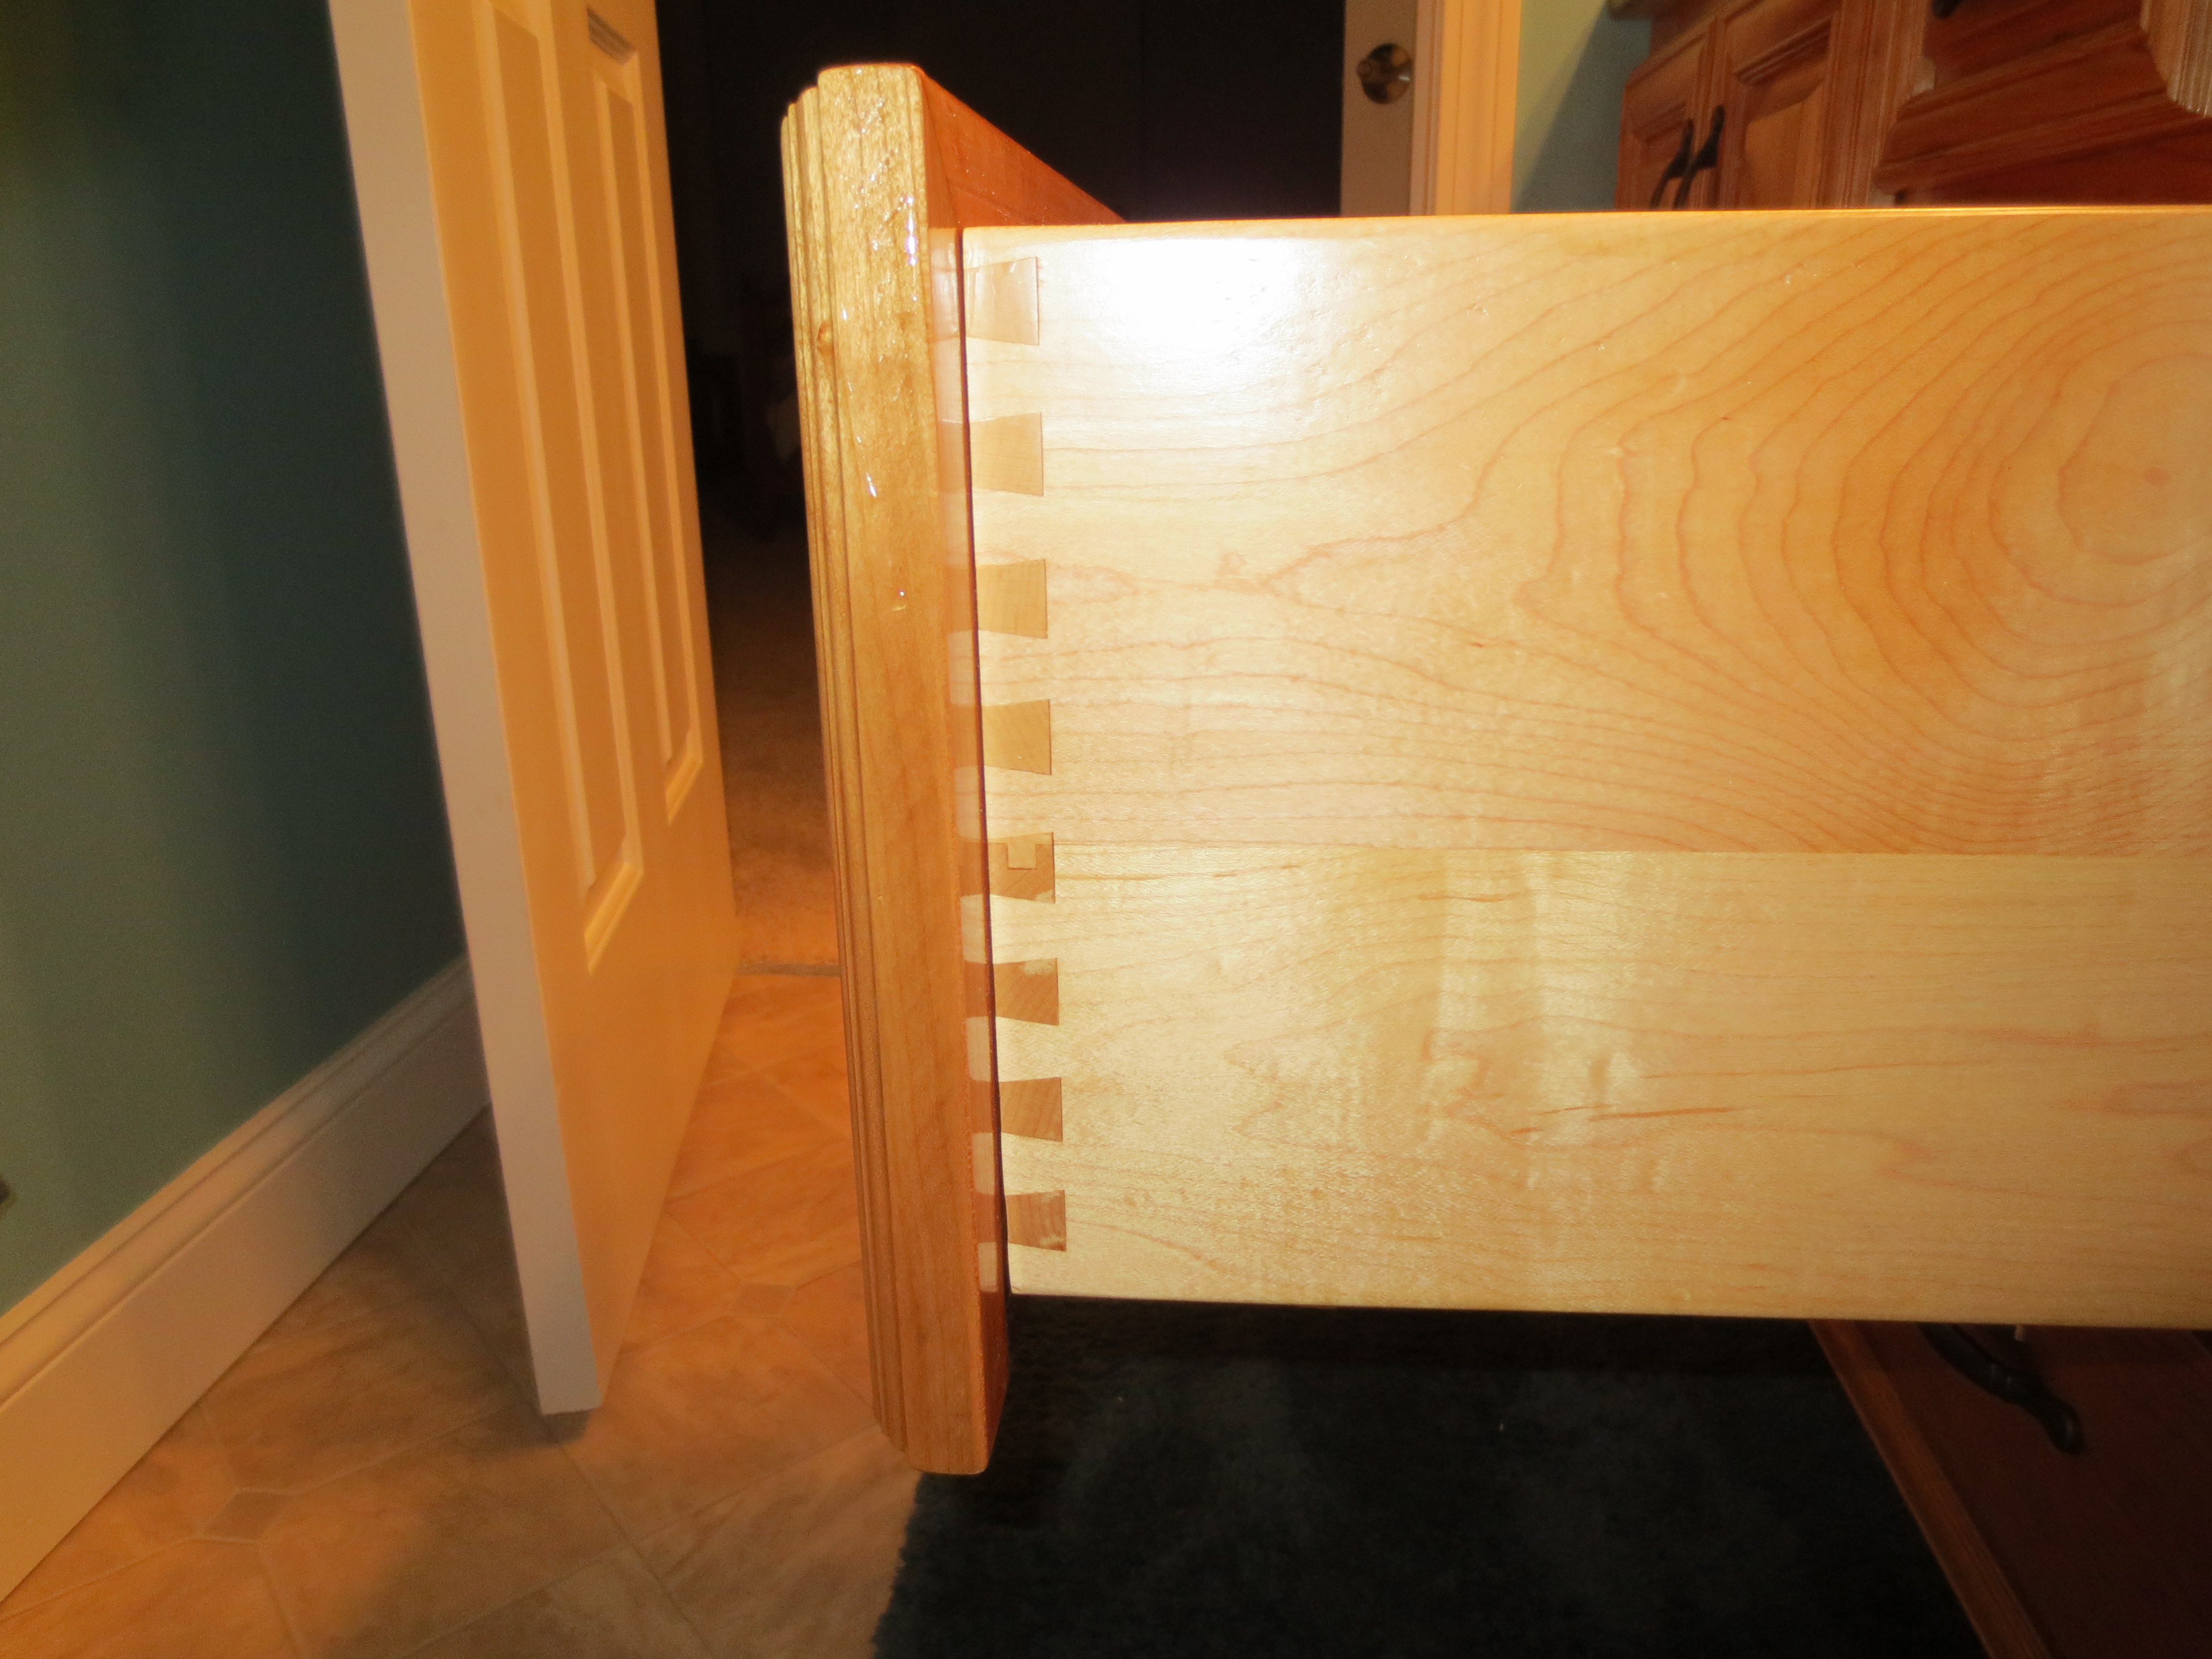
Drawer detail….No, that is not a run; just a bit of water :))
Sink details….All done!!!